 International
 Singapore
 Malaysia
 Thailand
 Vietnam
Your shopping cart is empty!

IRIV PiControl - Getting Started with Node-RED
- Abdulrahman Alhamed
- 12 Feb 2024
- Tutorial
- 423
Node-RED is a visual programming tool that allows users to wire together hardware devices, APIs, and online services to create IoT applications and data flows. It offers a browser-based interface with a wide range of pre-built nodes for easy integration and customization, making it an accessible platform for building event-driven applications without extensive coding. In this tutorial, we'll learn how to get started with Node-RED on IRIV PiControl. We'll demonstrate how to install Node-RED and familiarize you with its interface and workspace.
Instructions
To start, make sure that you are using Raspberry Pi OS, Debian Bullseye, as it is the currently supported version.
To verify if you are running the required OS on your IRIV, access the terminal and execute this command:
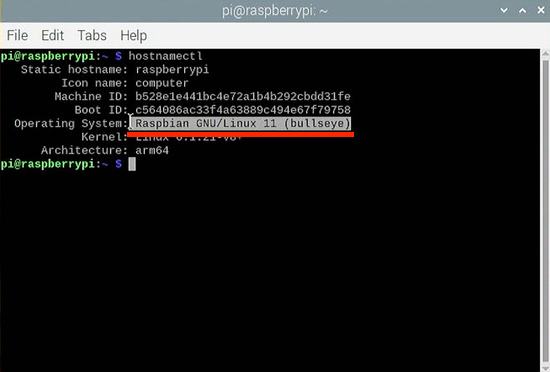
If you are using a different OS, please update it accordingly. Learn how to update your OS by reading this tutorial.
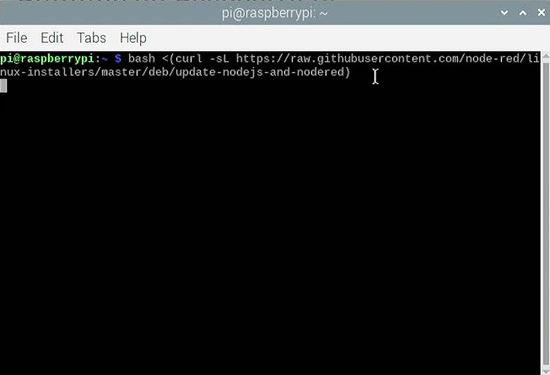
To install Node-RED copy and run this command on Raspberry Pi terminal:
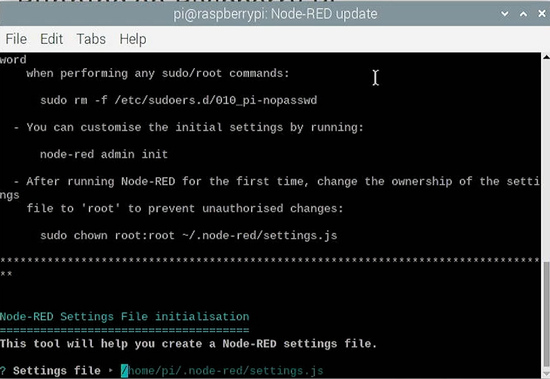
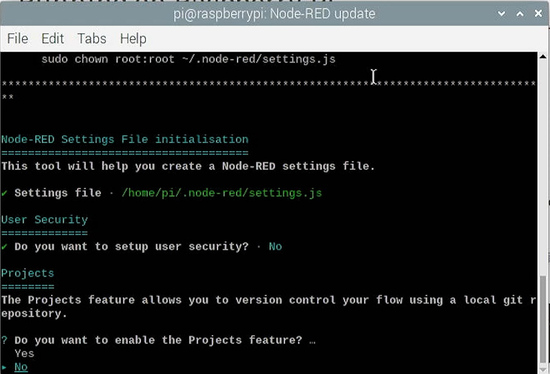
Once this message appears, press Enter.
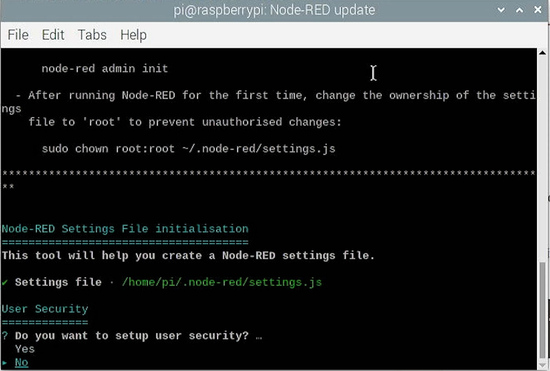
Do you want to setup user security?
- Select No
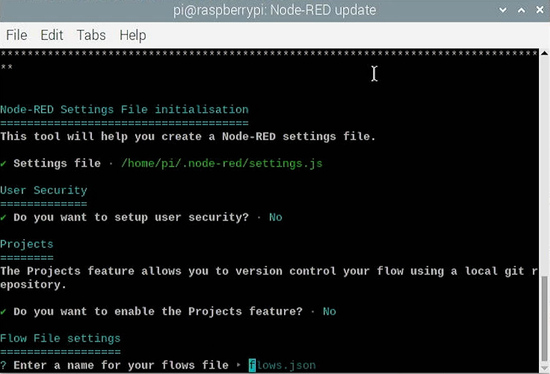
Do you want to enable the Projects feature?
- Select No
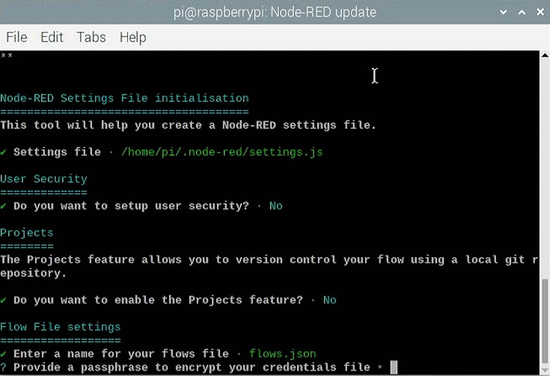
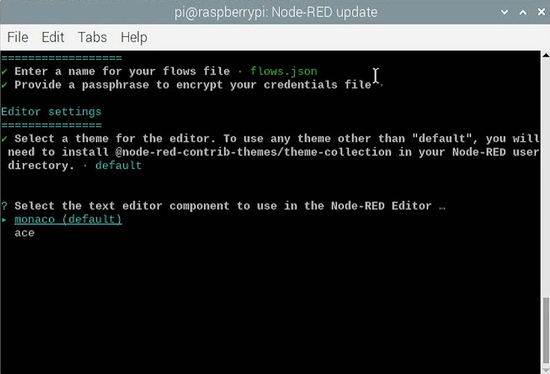
Enter a name for your flows file
- Leave it as it is, press Enter
Provide a passphrase to encrypt your credentials file
- Leave it empty, press Enter
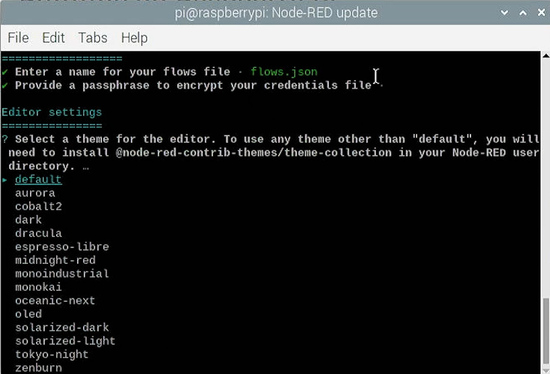
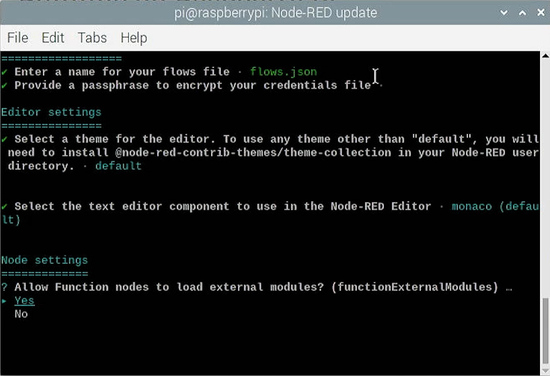
Select a theme for the editor
- Select (default)
Select the text editor component to use in the Node-RED Editor
- Select (monaco)
Allow Function nodes to load external modules?
- Select Yes
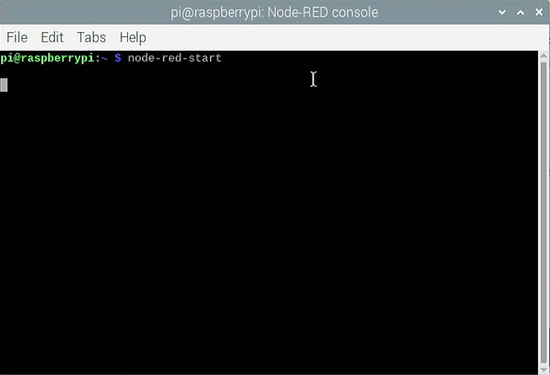
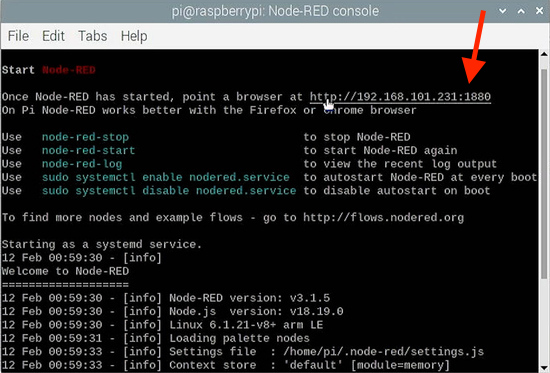
Once done installing, use this command to run Node-RED :
Now you can access Node-RED using this link in your browser.
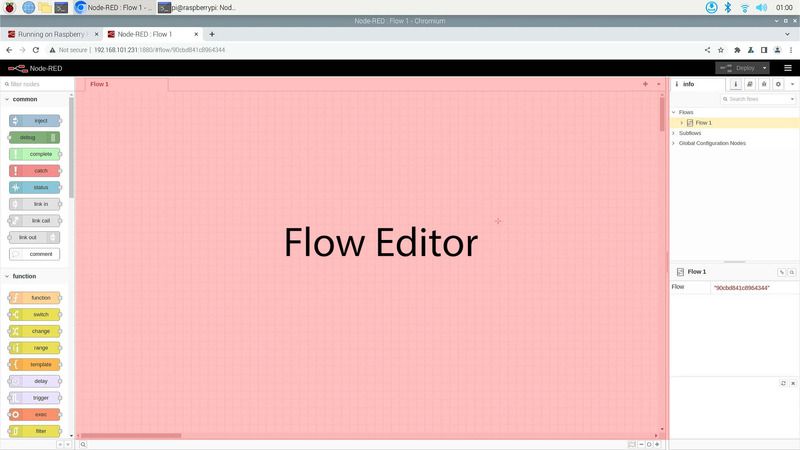
This is the Node-RED interface, let's go through it one by one.

Flow Editor: The main area where you create and edit your flows. It consists of a workspace where you can drag and drop nodes, connect them together, and configure their properties.
Palette: Located on the left-hand side of the interface, the Palette contains all the available nodes that you can use to build your flows.

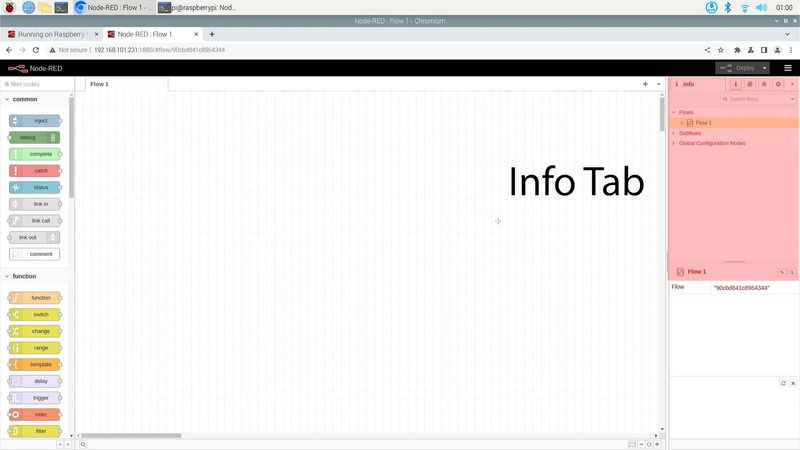
Info Tab: This tab provides information about the current flow, including its name, description, and version. You can also access documentation and other resources from this tab.
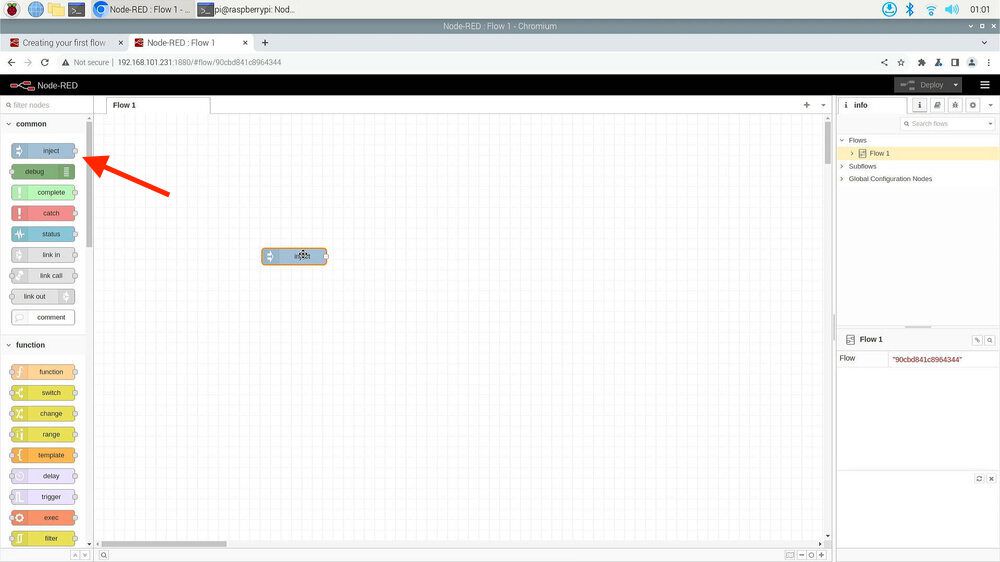
Now, Let’s create our first flow.
Add an inject node to the workspace.
Next, add a Debug node.
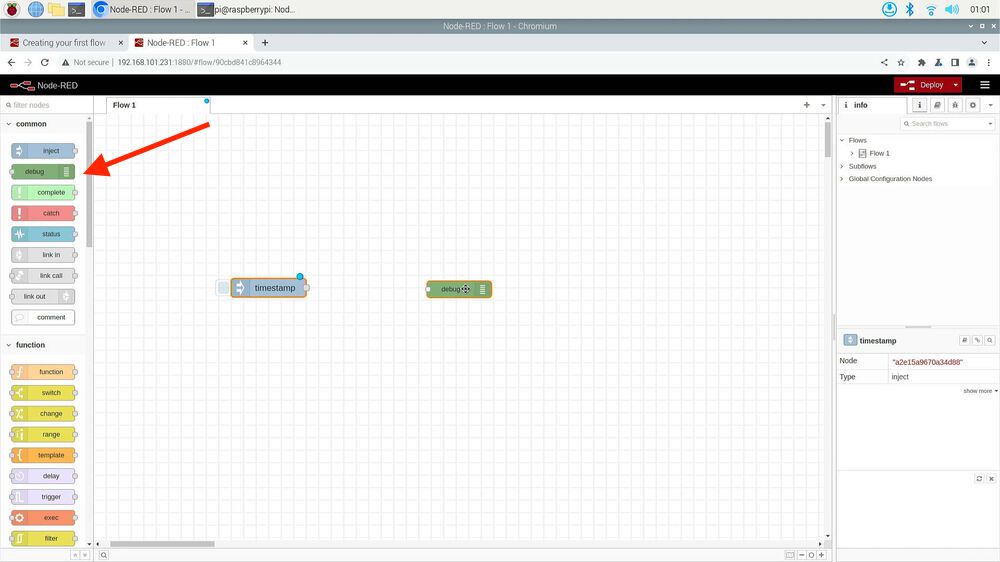
Wire the two together, then click on Deploy.
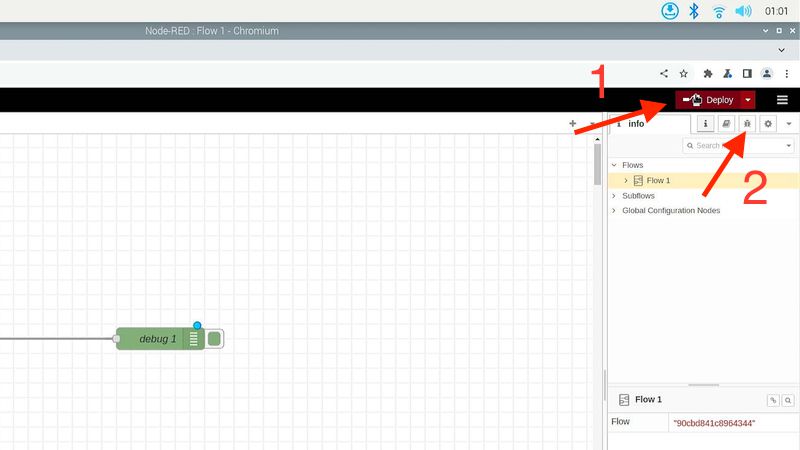
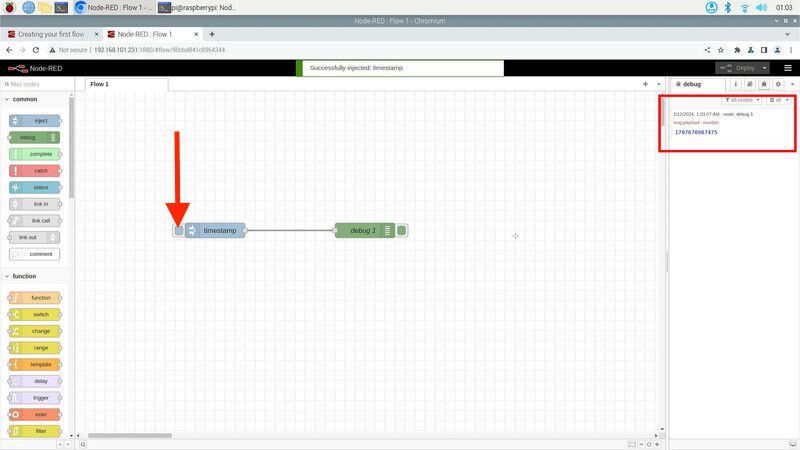
And after that click on the inject button.
Now you should see numbers appear in the sidebar. By default, the Inject node uses the number of milliseconds since January 1st, 1970 as its payload.
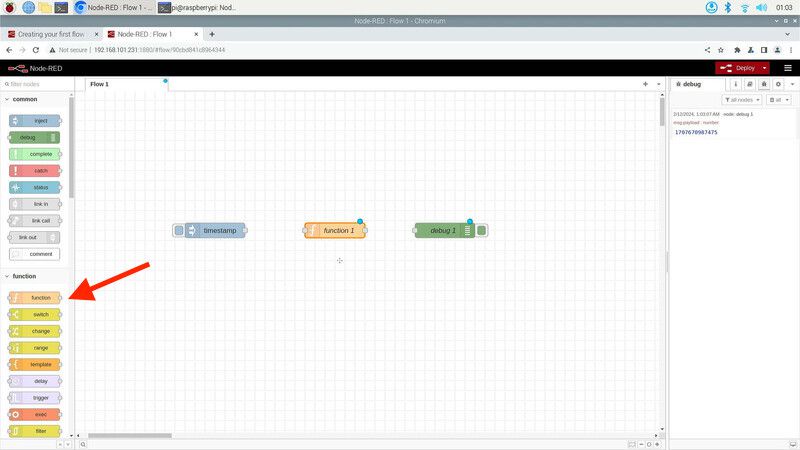
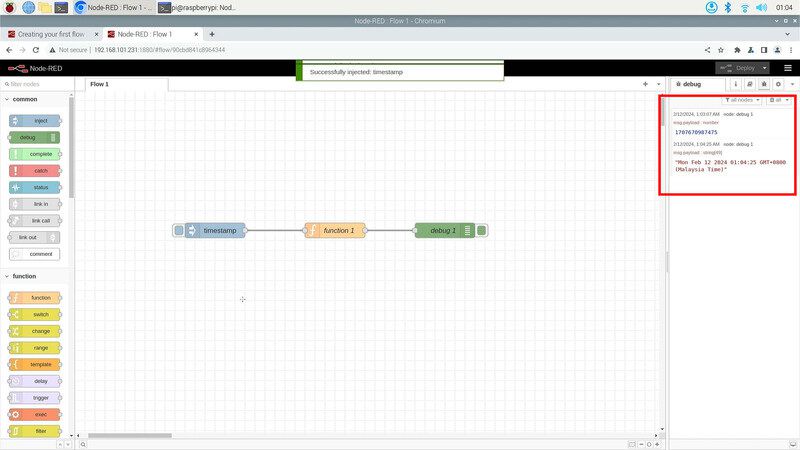
Now let’s add a function node, which will allow us to pass each message through a JavaScript function.
Double-click on the Function node, then copy the following code into the function field:
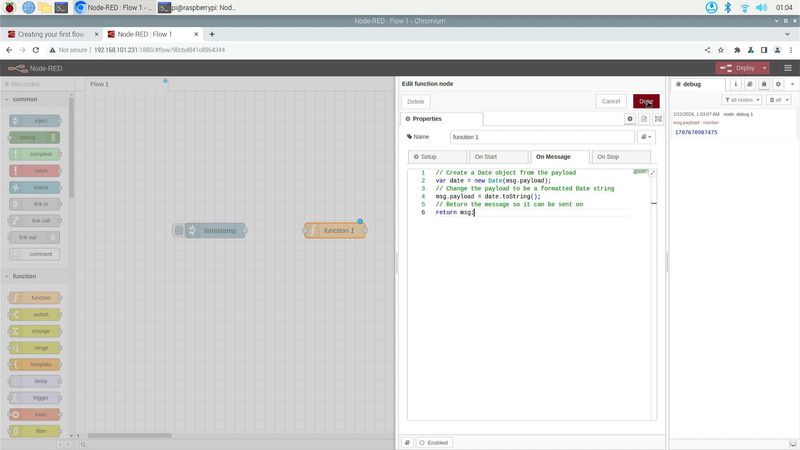
Click Done to close the edit dialog, connect all the nodes together and then click the deploy button.
Now when you click the Inject button, the messages in the sidebar will now be formatted as readable timestamps.
We reached the end of this tutoiral, we have learned so far, the basic concept of creating a flow.
In the upcoming tutorials we will learn more about Node-RED.
Hardware Components

IRIV PiControl - IR4.0 CM4 Industrial Controller
RM1,345.00++
x 1 unit(s)