 International
 Singapore
 Malaysia
 Thailand
 Vietnam
Your shopping cart is empty!

Microblocks with EDU PICO : CircuitPython Installation
- Aishah Kamal
- 06 Jun 2024
- Tutorial
- Beginner
- 394
This tutorial will help you on your journey to exploring MicroBlocks with EDU PICO board. We will help you from connecting your MicroBlocks Webapp to EDU PICO step by step.
What is MicroBlocks ?
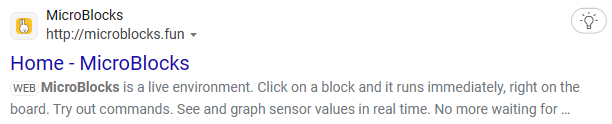
MicroBlocks is a free, Scartch-like blocks programming language for learning physical computing with educational microcontroller boards such as the micro:bit, Adafruit Circuit Playground Express, and many others.
For more information, you can find out at MicroBlocks !

Let's Begin !
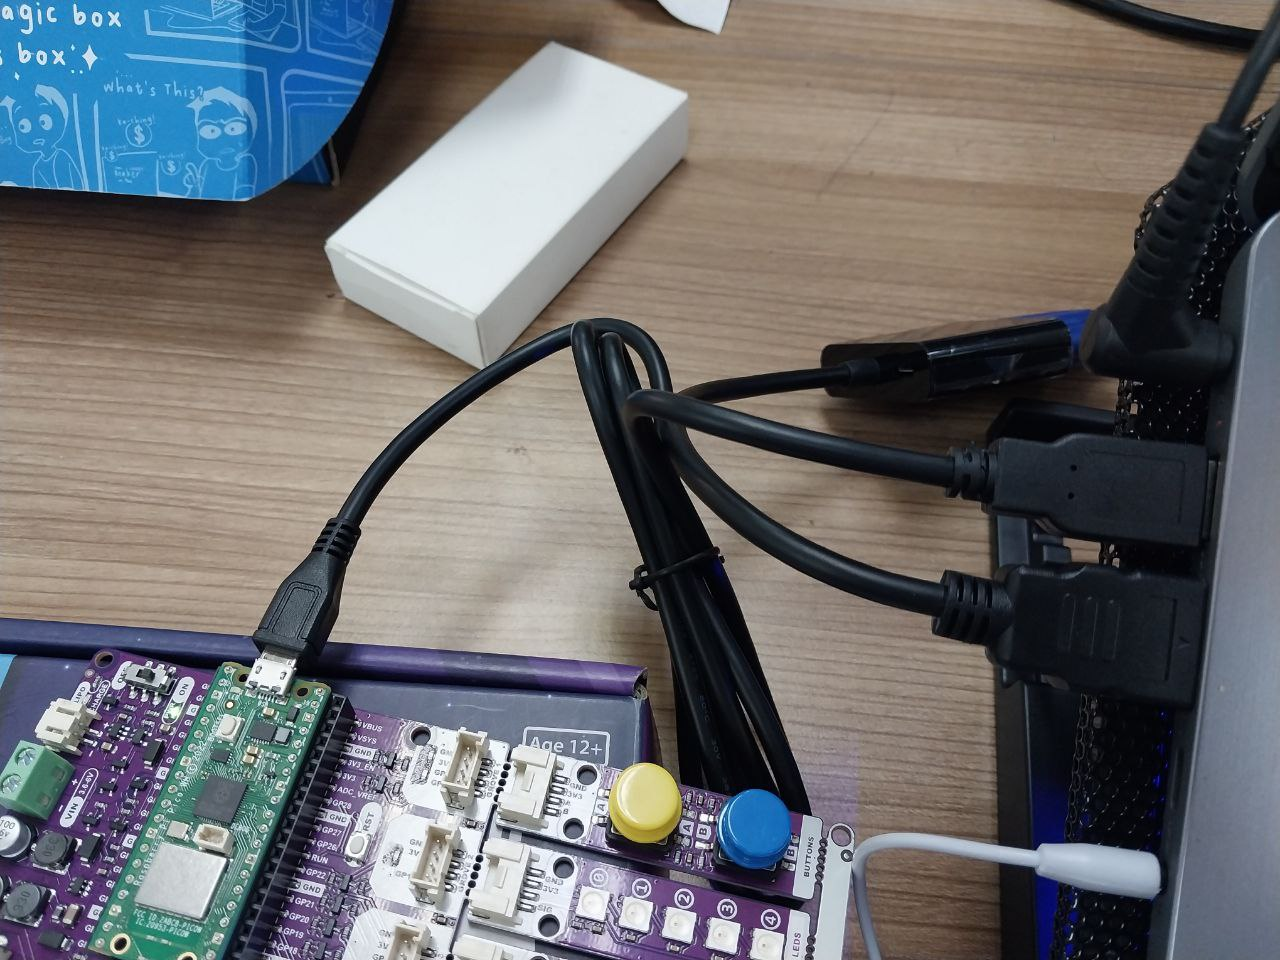
Step 1 : Connect the EDU PICO boards to your computer.
Step 2 : Search MicroBlocks on website or install MicroBlocks on your computer.

Step 3 : Go to MicroBlocks settings and select "update firmware on board".

Step 4 : While updating press and hold the reset (RST) and BOOTSEL buttons, then release the RST button, but continue to hold the BOOTSEL button until the RP1-RP2 drive appears. Save the file to the drive, and click on usb icon to select avalaible com. Then it will successfully connect.

HELLO EDU PICO
To begin this activity:
1. Find Library to add some library
- Add Library > Graphics and Display > OLED Graphics
2. Drag the "when started" at Control part
3. Drag, put and change the word then click the green flag to run, drag "clear" blocks to clear the OLED Display screen.
4. When started, OLED Display on your EDU PICO board will appear.
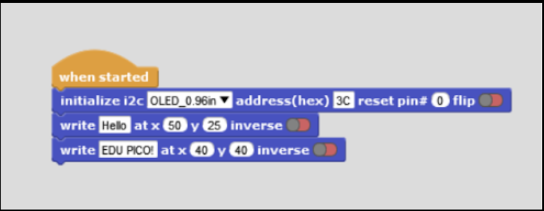
Click ==> Hello EDU PICO!
Let's watch the tutorial video !
Now you are ready to proceed to another level of our journey. Let's go to Button Module tutorial page for more activity.
Hardware Components

x 1 unit(s)
Related Posts

MicroBlocks with EDU PICO : Button Module
Unlock Potential for MicroBlocks with EDU PICO. We will guide you from connect MicroBlocks with EDU PICO to doing intersting project...
Microblocks with EDU PICO : Buzzer Module
Program EDU PICO OLED and Gesture Sensor using blocks programming language..
Microblocks with EDU PICO : Proximity Sensor
Programming EDU PICO Proximity Using Blocks Programming..
Microblocks with EDU PICO : RGB Led
In this tutorial page, we will teach you to do play with NeoPixels with MicroBlocks...
Microblocks with EDU PICO : Project Water Drinking Reminder
To make it more interesting we have ready a little challenge for your project. Also using button and buzzer as input and output...
Microblocks with EDU PICO : Project Hearing Reaction
Microblocks project using oled module and gesture sensor from EDU PICO board...
Microblocks with EDU PICO : Mini Activity Oled Module
To have you familiar with oled sensor, we ready you a mini activity...
Microblocks with EDU PICO : Relay Module
We have a relay module on our MicroBlocks with EDU PICO, let;s try to use it...
Microblocks with EDU PICO : DC Motor
In this tutorial page, we will teach you to do play with DC Motor with MicroBlocks...
Microblocks with EDU PICO : Project Proximity Buzzer Alert
Play tone using proximity as an input to activate the tone...
Microblocks with EDU PICO : Servo Motor
A project that includes servo motor and proximity sensor...