 International
 Singapore
 Malaysia
 Thailand
 Vietnam
Your shopping cart is empty!
_11zon.jpg "QR Code Reader Using Raspberry Pi Zero W + Camera Module 3")
QR Code Reader Using Raspberry Pi Zero W + Camera Module 3
- Hussien Jawhar Sathik
- 02 Aug 2023
- Tutorial
- Intermediate
- 1462
Introduction
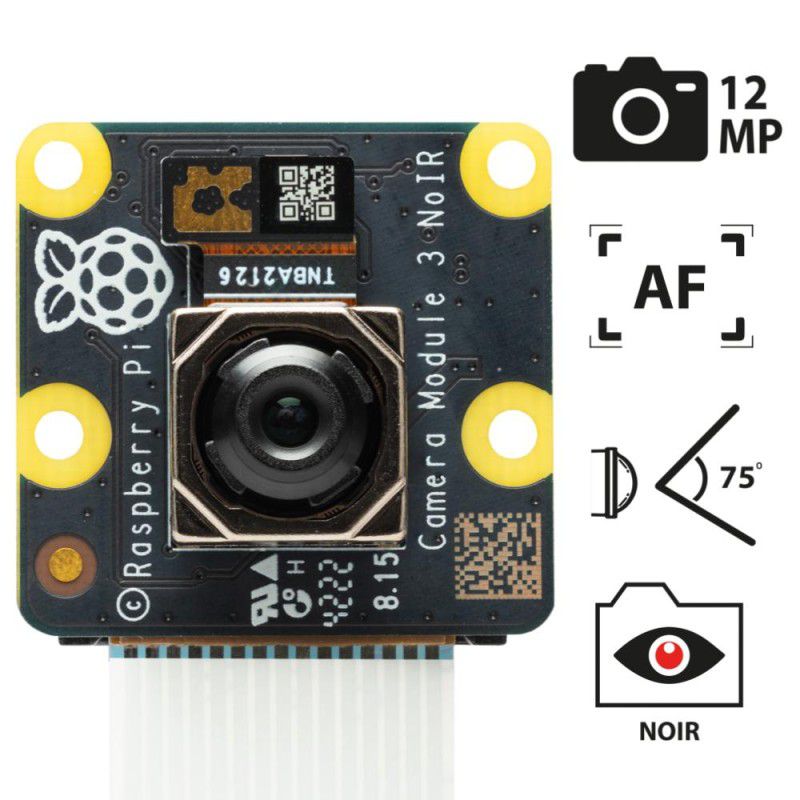
In this project, we shall see how to build a QR code reader using the Raspberry Pi Zero W with camera module 3. First let us understand, how does the QR code works.
How does a QR code work?
A QR code, also known by its full abbreviation 'quick response code,' is a type of barcode that can be easily read by digital devices. It stores information as a series of pixels arranged in a square-shaped grid. QR codes find frequent usage in tracking product information within supply chains, as well as in marketing and advertising campaigns. They represent an advancement from older, uni-dimensional barcodes and were internationally standardized in the year 2000 by the International Organization for Standardization (ISO).
Invented by Denso Wave, a subsidiary of Toyota, the QR code was developed in the 1990s as a means of providing more information than a standard barcode. This technology was created to track automobiles throughout the manufacturing process. Unlike traditional barcodes, which rely on reflecting light off parallel lines, QR codes can be digitally scanned by devices such as mobile phones.
Hardware
For this project, we would need to access the raspberry pi output through a monitor rather than using the VNC viewer. Below are items that are required.

For the camera i have 3D printed the casing, which makes it easier to mount it onto a tripod. The 3D printed file can be obtained from here. And below are the images of how i mount the camera.
.jpg )
And this is the video of mounting the camera to the 3D printed case.
The details on how to aasemble all this components together is shown in the demo video.
Software
Below is the code used in this project.
The code can be used directly copied and paste into Thonny or other ide to run the program. But do remember to run these first few lines of code in the terminal and make sure that each of these is successfully installed before running the code.
sudo apt-get update |
sudo apt-get install python3-opencv |
sudo apt-get install libqt5gui5 libqt5test5 python3-sip python3-pyqt5 libjasper-dev libatlas-base-dev -y |
pip3 install opencv-contrib-python==4.8.0.74 |
sudo modprobe bcm2835-v4l2 |
pip3 install pyzbar |
sudo reboot
Demo
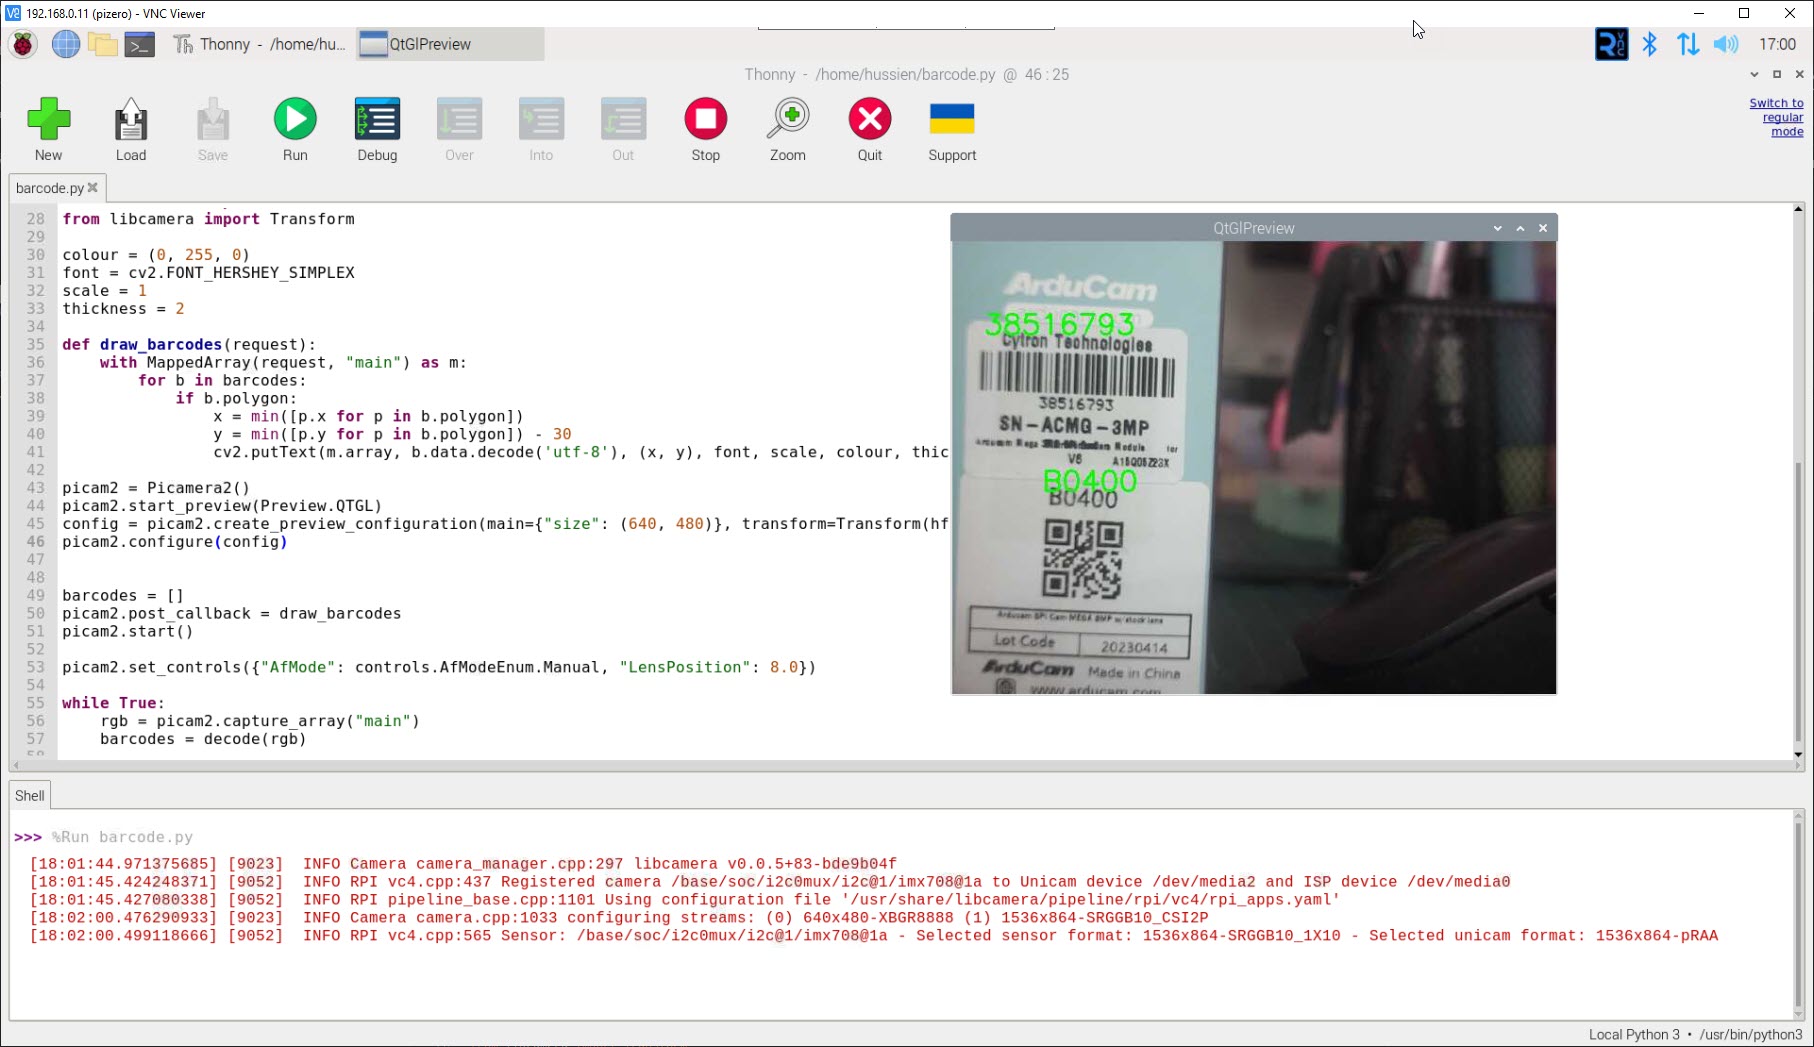
Below is the screenshot after successfully running the code.
And this the video of this project.
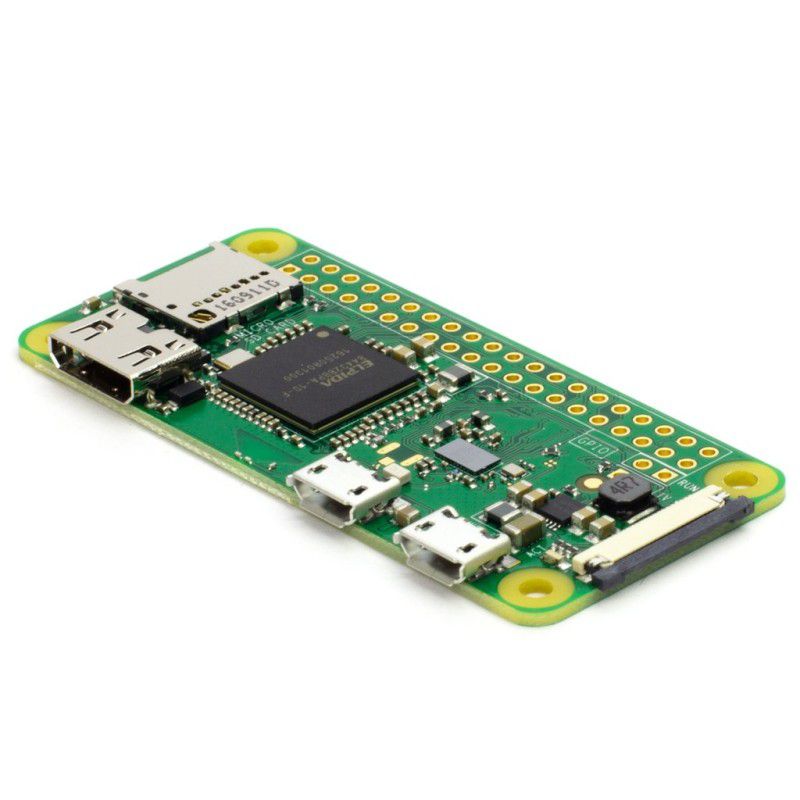
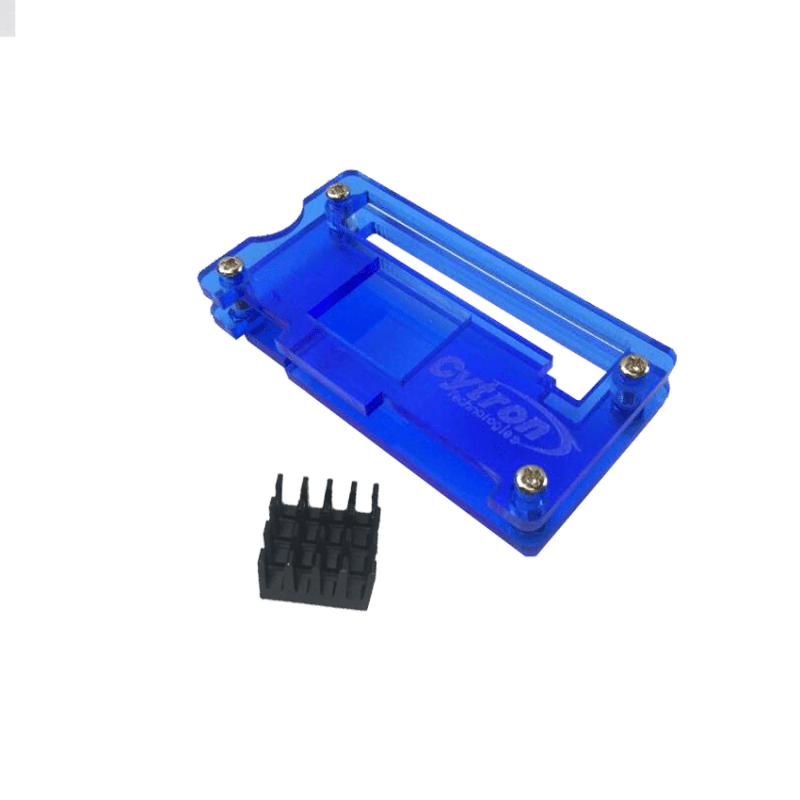
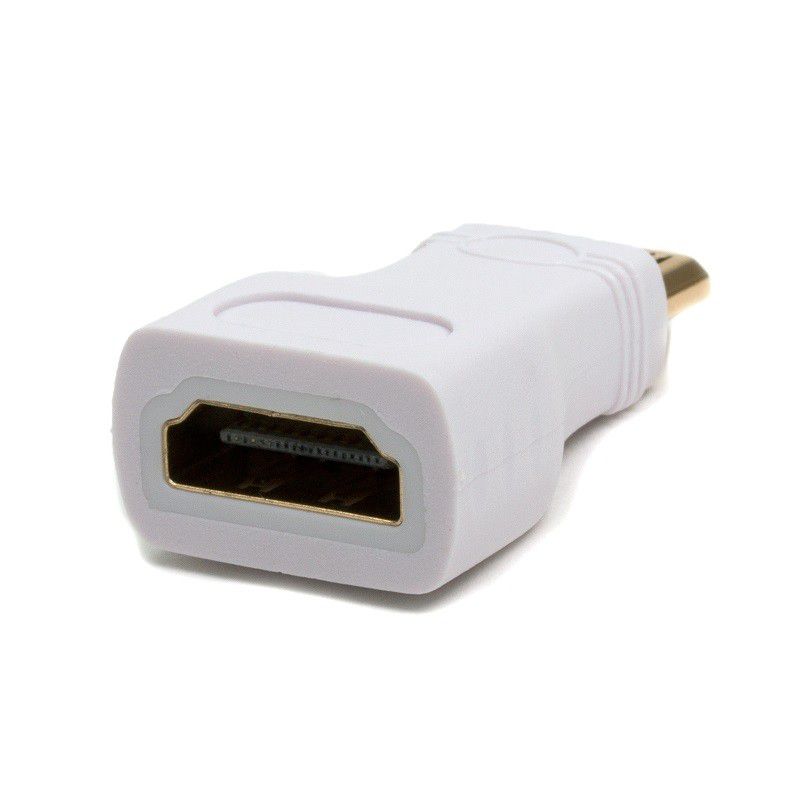
Hardware Components
 -13%
-13%Raspberry Pi Zero W
RM72.50 RM82.50
x 1 unit(s)
") -7%
-7%Acrylic Case for RPI Zero/Zero W (Blue)
RM13.50 RM14.50
x 1 unit(s)

x 1 unit(s)

Official RPi mini HDMI adapter
Discontinued
x 1 unit(s)

x 1 unit(s)

x 1 unit(s)
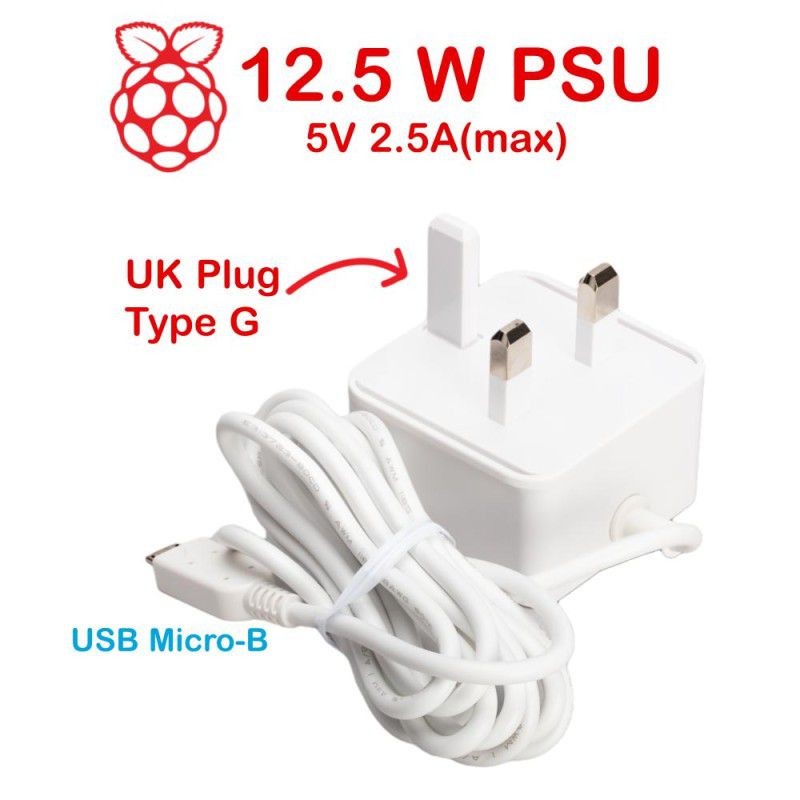
 PSU microB UK Plug-White") Backorder Only
Backorder Onlyx 1 unit(s)

x 1 unit(s)