 International
 Singapore
 Malaysia
 Thailand
 Vietnam
Your shopping cart is empty!

NodeMCU Kit using Telegram : Weather Monitoring System
- Aishah Kamal
- 26 Aug 2024
- Tutorial
- Beginner
- 25
Part 1 : Arduino IDE
Step 1 : Add preference on Arduino IDE http://arduino.esp8266.com/stable/package_esp8266com_index.json
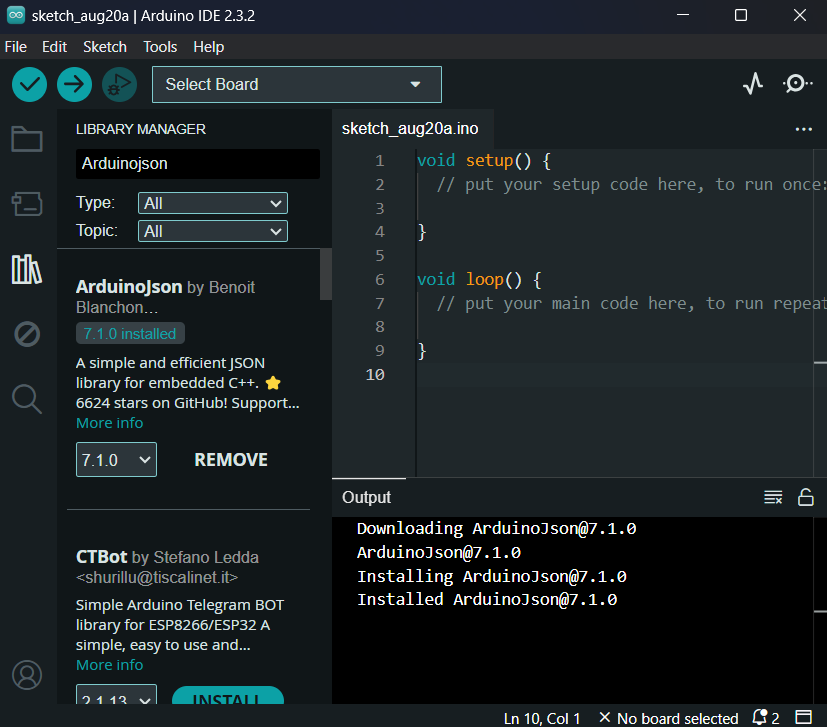
Step 2 : ArduinoJson Library:
You also have to install the ArduinoJson library. Follow the next step to install the library.
1. Go To Sketch > Include Library > Manage Libraries.
2. Search for "ArduinoJson".
3. Select the latest version available.
4. Install the library.
Step 3 : To establish communication with the Telegram bot, we’ll be using the Universal Telegram Bot Library created by Brian Lough that provides an easy interface for Telegram Bot API.
Follow the next steps to install the latest release of the library.
1. Go to https://github.com/witnessmenow/Universal-Arduino-Telegram-Bot
2. Go to Sketch > Include Library > Add.ZIP Library...

3. Add the library you’ve just downloaded. And that’s it. The library is installed.
Part 2 : Telegram Bot
Getting start Control LED using Telegram Bot :
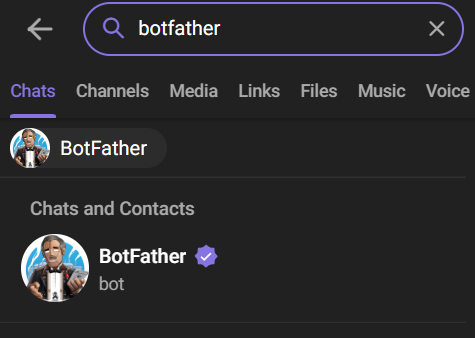
Step 1 : Go to Telegram and find “BotFather”
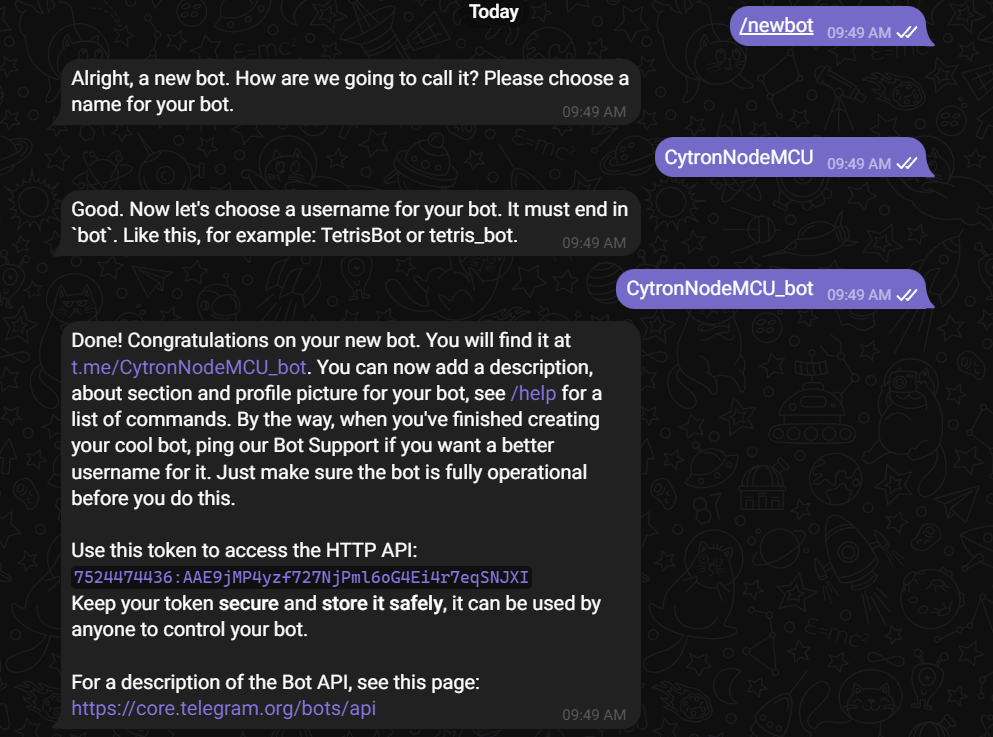
Step 2 : Write a prompt “/newbot”. Then choose your own new chat bot name. If it says that the name you made has exist, you should change your bot name.
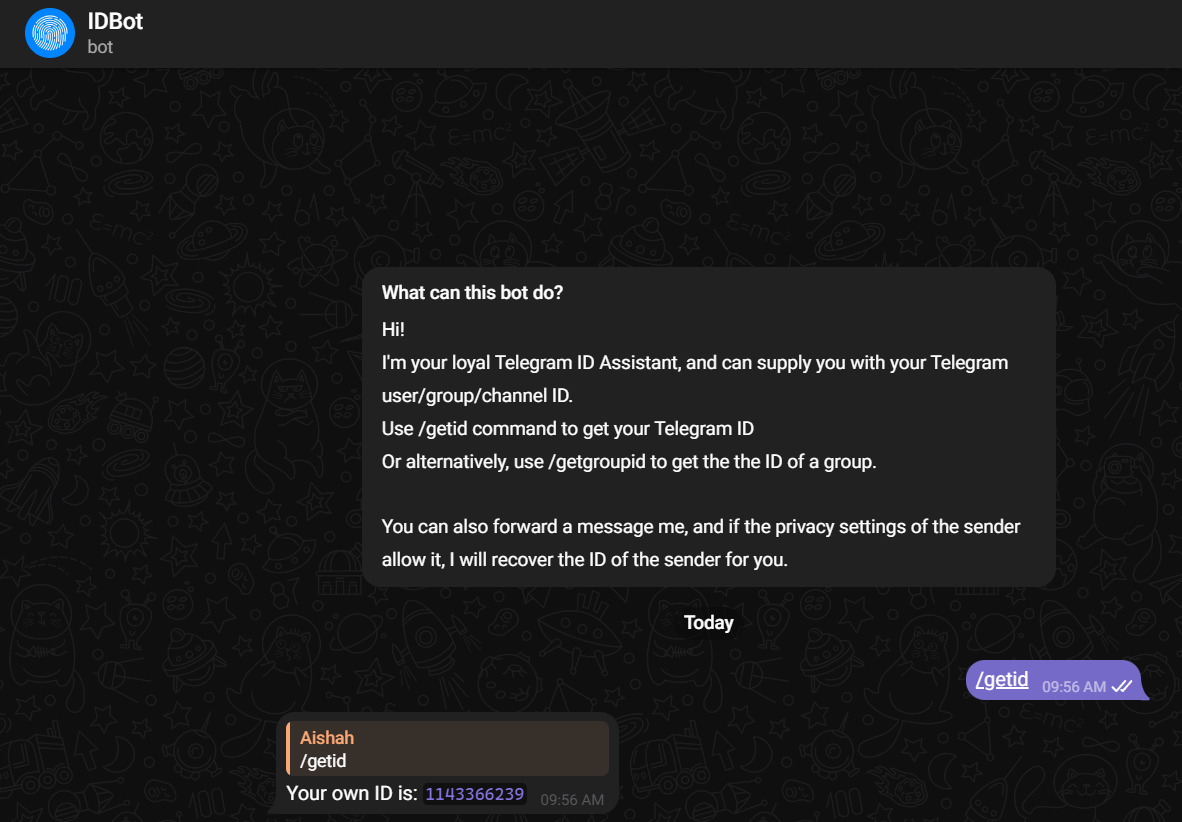
Step 3 : Go to web search and write “t.me/myidbot” and write a prompt “/getid”. The bot will give your ID number.
Project 1 : Weather Monitoring System
Ultilize the DHT11 sensor to monitor temperature and humidity readings through Telegram Bot.
Required components : ESP8266, DHT11, three female-to-female jumper
Step 1 : Connect the jumper as the shown picture, pin D4 :

Step 2 : Copy and paste the code to Arduino IDE
Get the code here !
Change this things before you upload :
- "wifi name" to your own WiFi
- "wifi password" as your WiFi password
- "botfather token" to the token you get
- "chat id number" to the number you get from chat id
Step 3 : write the prompt “/temperature”

Let's continue to next page for another project !
Hardware Components
") New
Newx 1 unit(s)
Related Posts

NodeMCU Kit using Telegram : Smart Security System
Create a Smart Security System with IoT Technology using Telegram Bot...
NodeMCU Kit using Telegram : Rain Alert System
Create Rain Alert System with Telegram Bot using IoT Technology...
NodeMCU Kit using Telegram : Light Control
Light control using Telegram Bot as switch with IoT Technology...
NodeMCU Kit using Telegram : Smoke and Flame Alert System
Create a Smoke and Flame Alert System using Telegram Bot with IoT Technology...