 International
 Singapore
 Malaysia
 Thailand
 Vietnam
Your shopping cart is empty!
.png "Getting Started | Using Raspberry Pi Pico W with Blynk")
Getting Started | Using Raspberry Pi Pico W with Blynk
- Abdulrahman Alhamed
- 06 Jul 2023
- Tutorial
- Beginner
- 1877
In this tutorial, we'll show you the simple steps to connect your Raspberry Pi Pico W to the Blynk platform, enabling you to create exciting IoT projects effortlessly. Learn how to set up the Pico W, establish a connection with Blynk, and control your devices remotely through a mobile app.
Video Tutorial
Get Familiar with Thonny and CircuitPython
In this tutorial, we'll use Thonny editor & CircuitPython to build the code for this project. If you're not familiar with Thonny, check out the video below to learn how to get started with it.
Setup Blynk
- go to Blynk website, create a new account, and log in
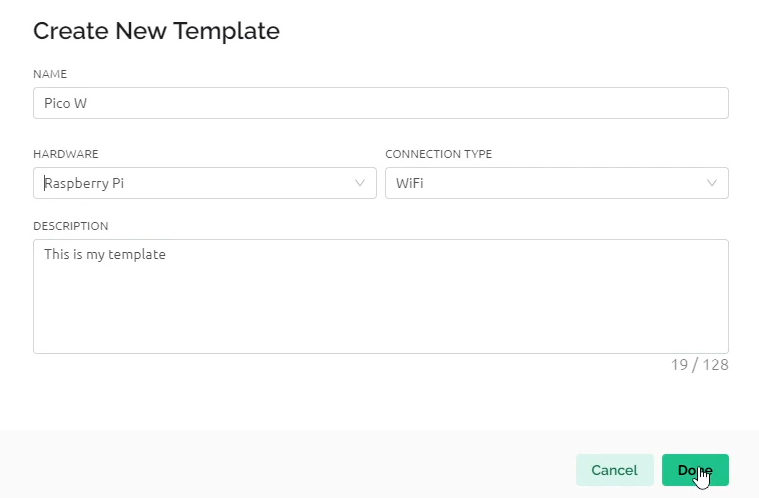
- create a new template
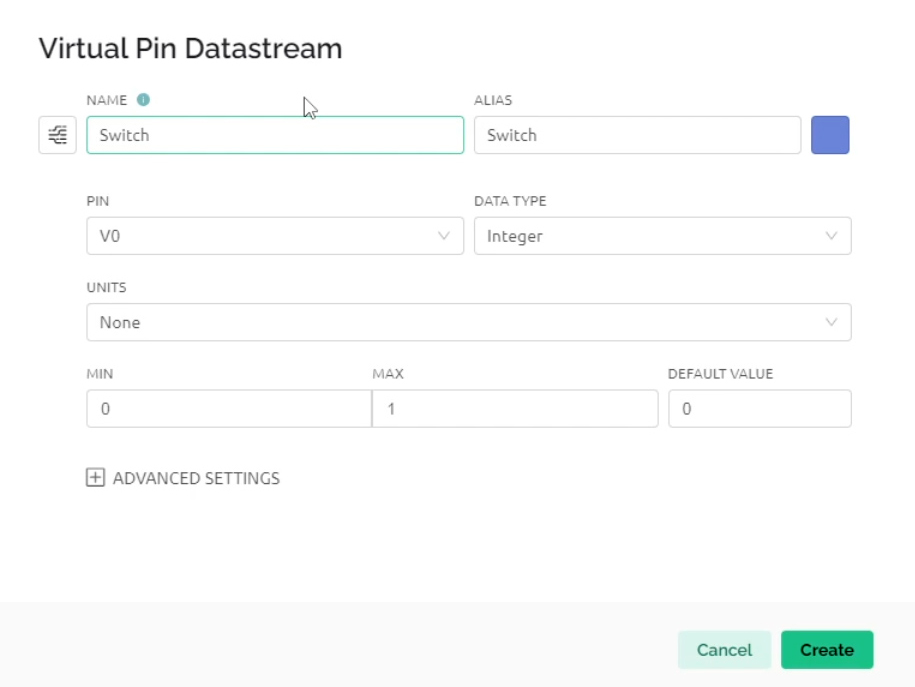
- from datastream add a virtual pin
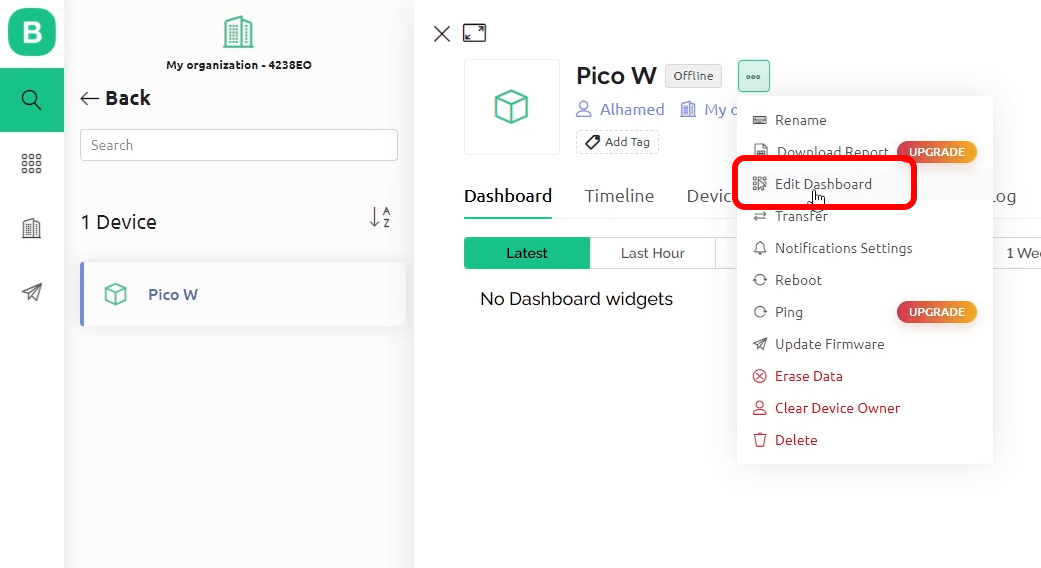
- then add a new device

- select the template that you have created
- from the web dashboard add a switch
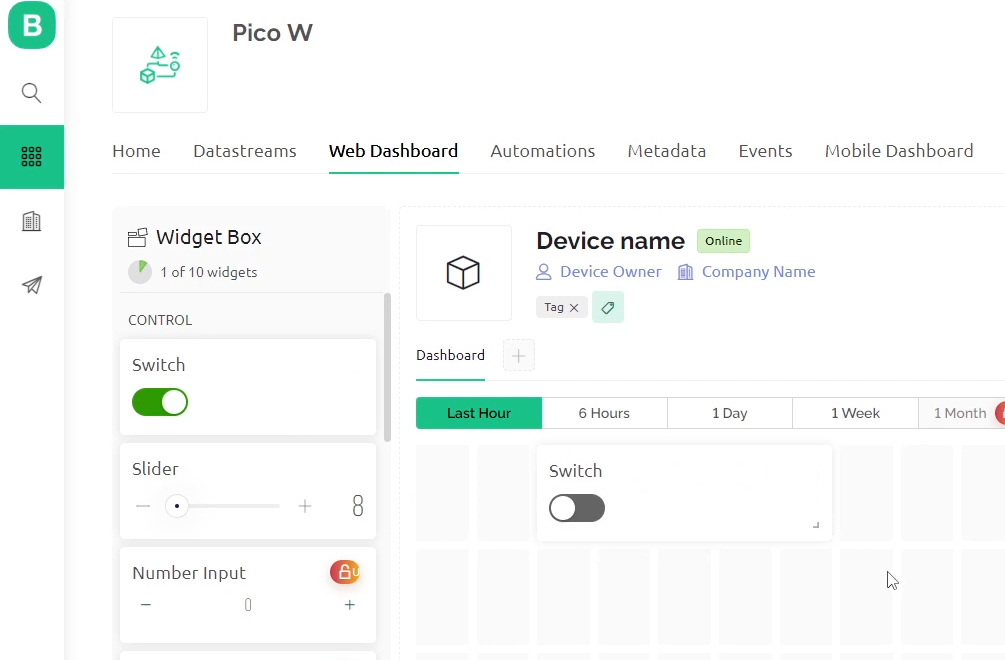
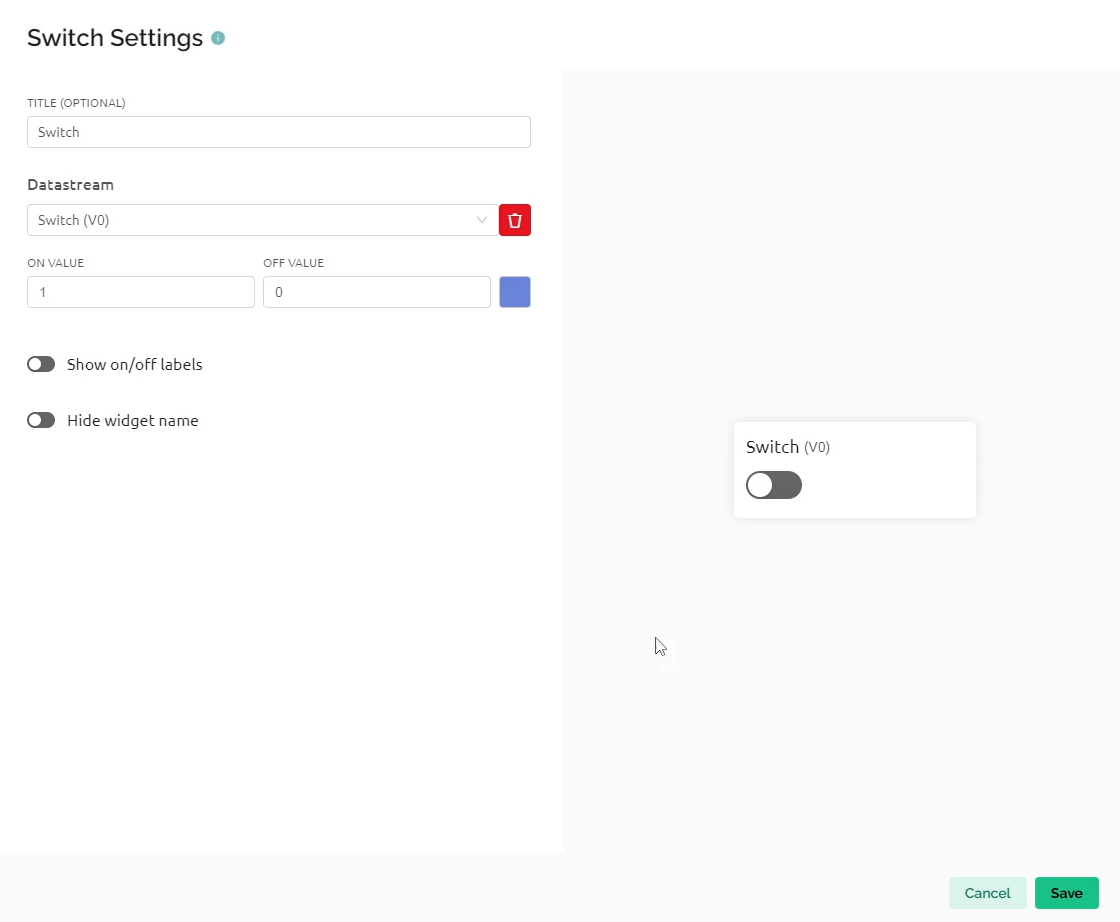
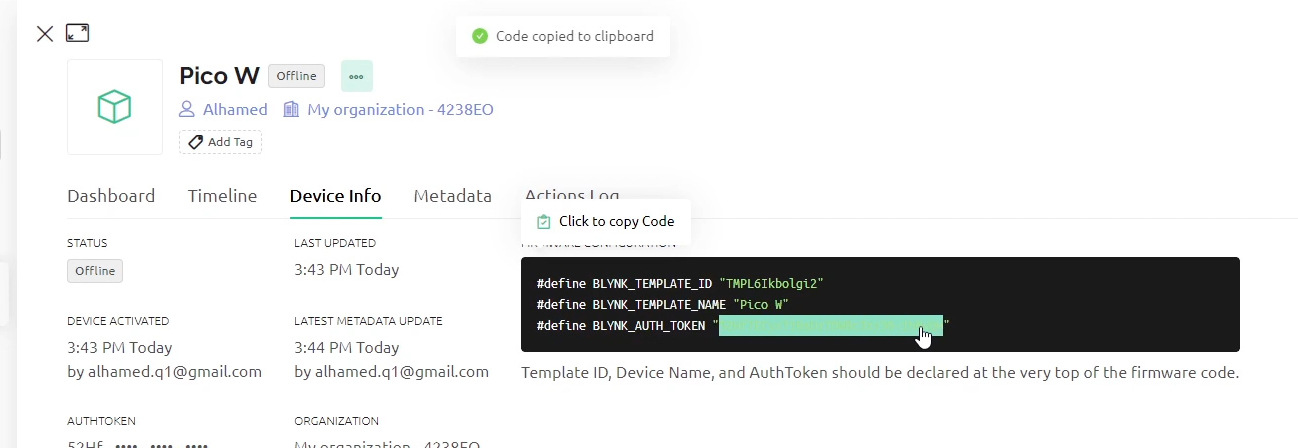
- now copy the token and let’s start making the code for Pico W
Required Libraries to Build the Code
Visit the official CircuitPython website and download the latest library bundle. Make sure to select the correct bundle for your version of CircuitPython.
Unzip the file, and locate these 2 libraries:
- adafruit_requests.mpy
- simpleio.mpy
Copy and paste them into "lib" folder on your CIRCUITPY drive.
Code
Project complete
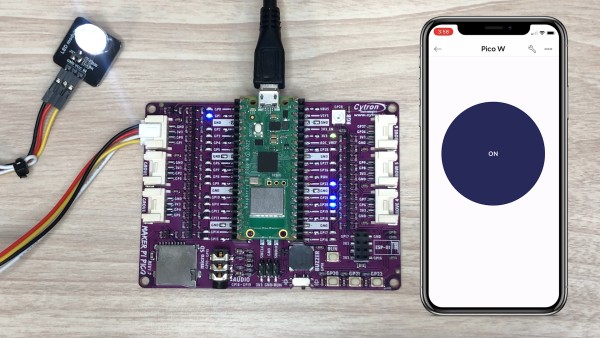
Now you control your Pico W through Blynk platform. You can also use the application on your phone to do the same thing. All you have to do is to sign-in to your account, click on Pico W device, then from the widget box add a switch to control the GPIO pin.
Hardware Components
 Best Seller
x 1 unit(s)
") -3%
-3%Maker Pi Pico Base with Raspberry Pi Pico WSH (...
RM74.90 RM76.90
x 1 unit(s)