 International
 Singapore
 Malaysia
 Thailand
 Vietnam
Your shopping cart is empty!

Breakout Game Using Raspberry Pi Pico 2
- Aishah Kamal
- 21 Aug 2024
- Tutorial
- Intermediate
- 51
To build a breakout game using CircuitPython and an SSD1306 OLED display, follow these step-by-step instructions:
Step 1: Gather the Required Components
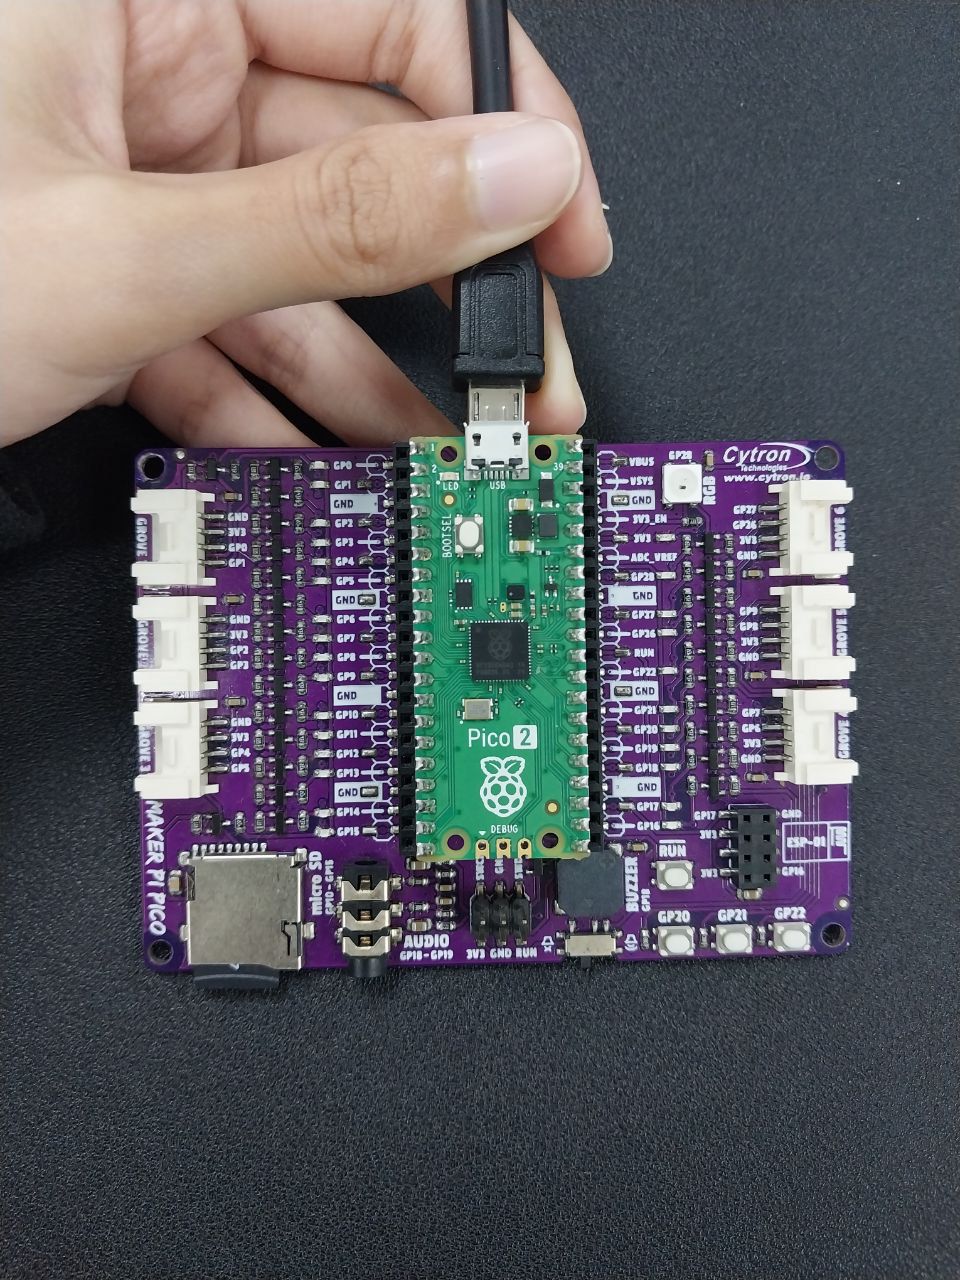
Raspberry Pi Pico 2
SSD1306 OLED Display
Joystick (with X, Y, and button pins)
Buzzer
Breadboard and connecting wires
Step 2: Set Up CircuitPython Environment
Install the necessary CircuitPython libraries. Use the
adafruit-circuitpython-bundleto get the following:adafruit_display_shapesadafruit_ssd1306simpleioanalogiodigitalio
Can get the library here
Step 3: Wire the Components
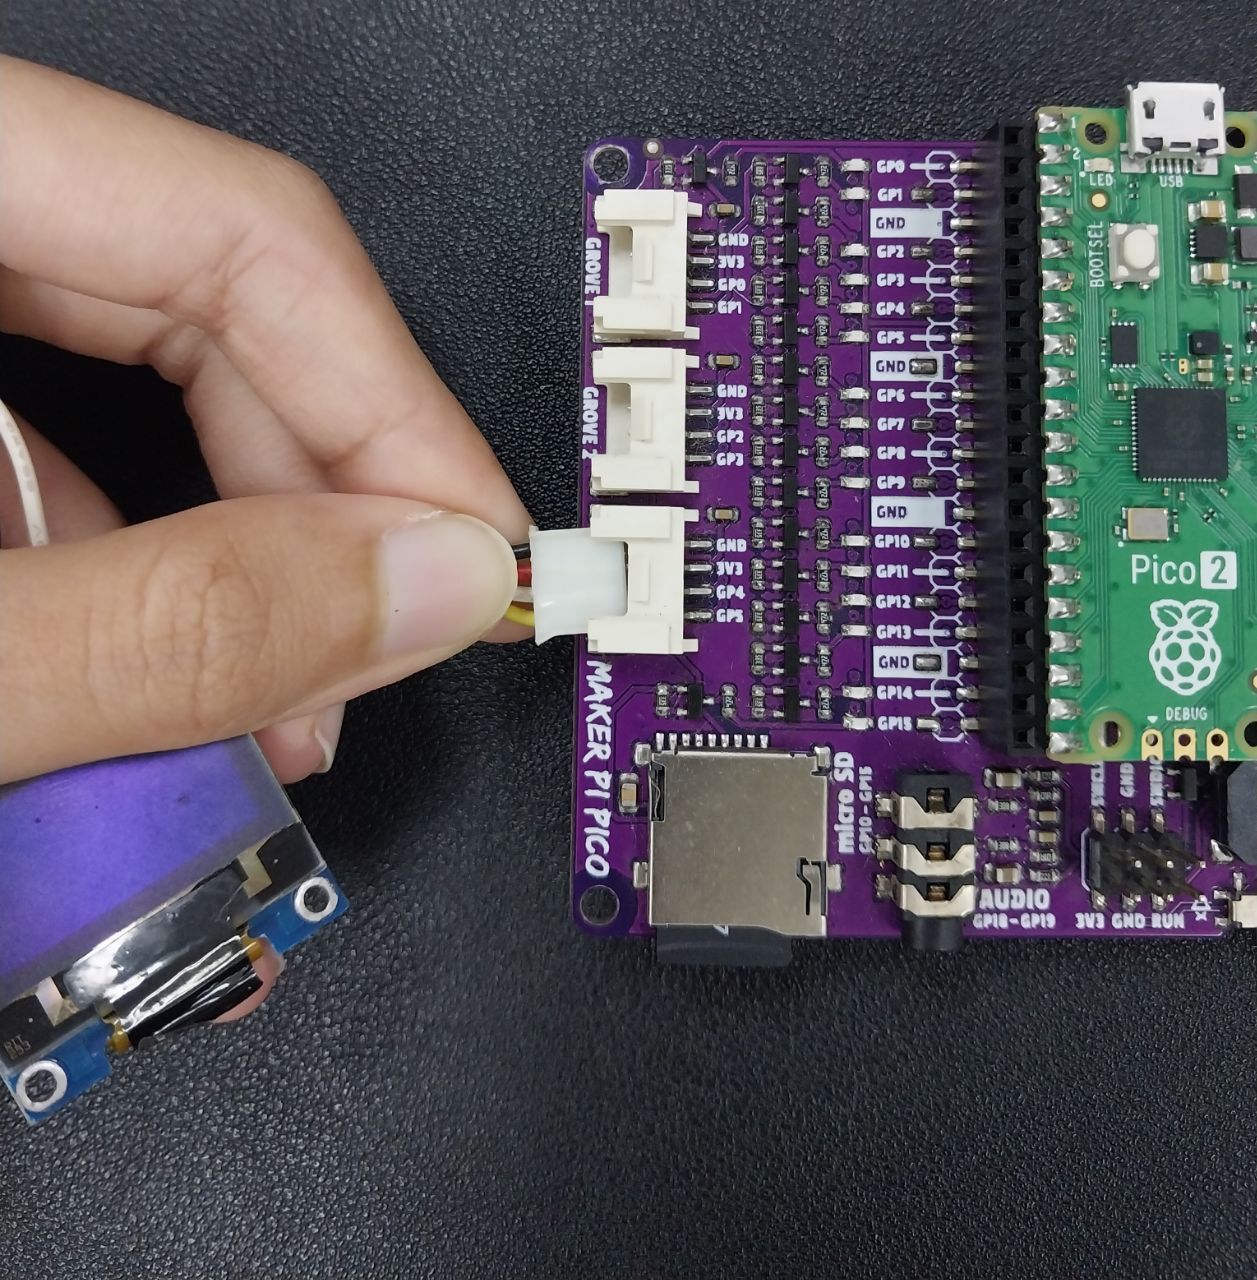
SSD1306 OLED Display:
Connect
SCLto GP5 (I2C Clock)Connect
SDAto GP4 (I2C Data)Connect
VCCto 3.3VConnect
GNDto GND
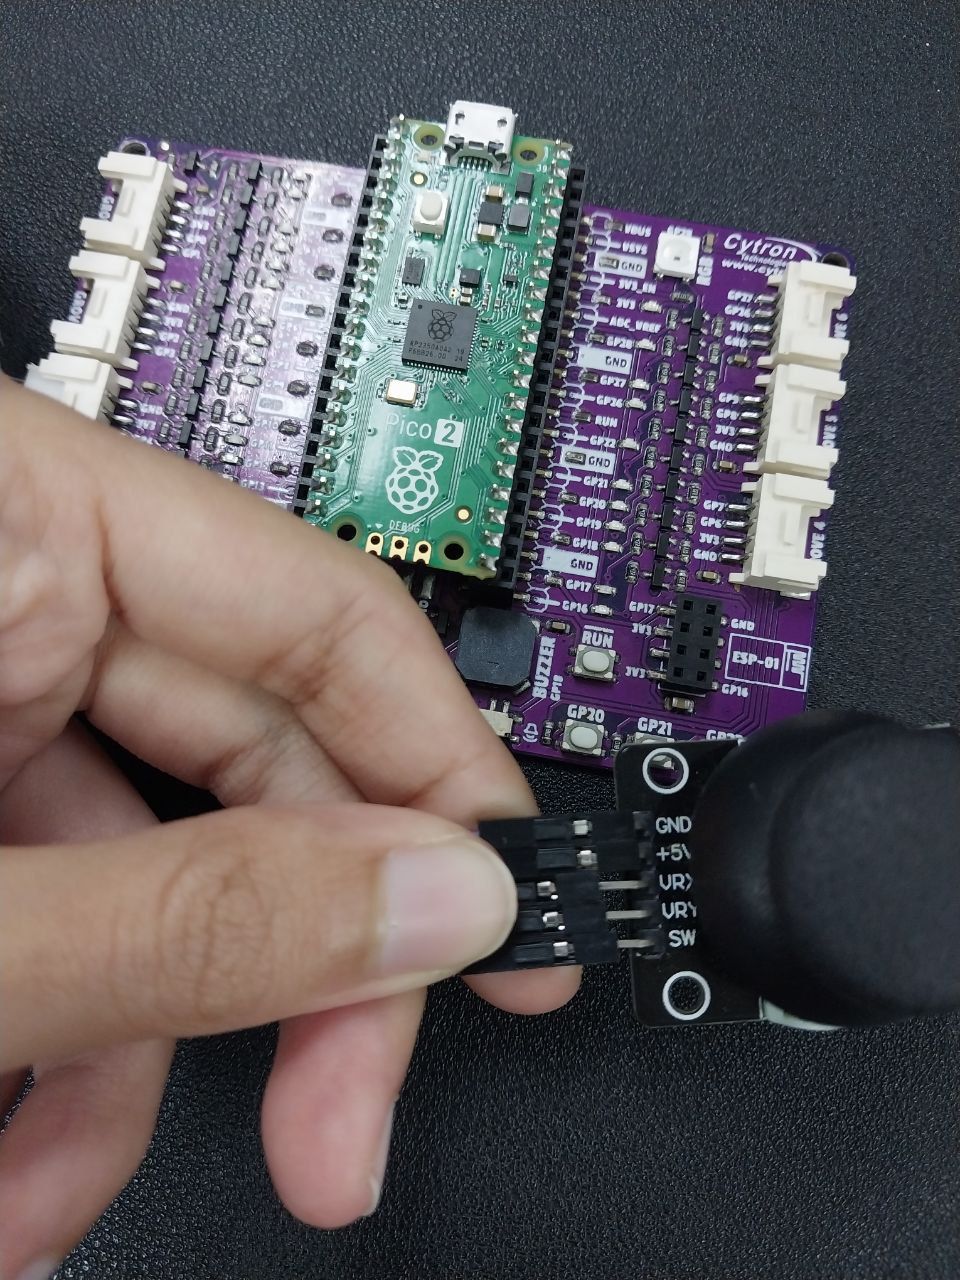
Joystick:
Connect the X-axis to GP26
Connect the Y-axis to GP27
Connect the button pin to GP22 (with a pull-up resistor, if needed)
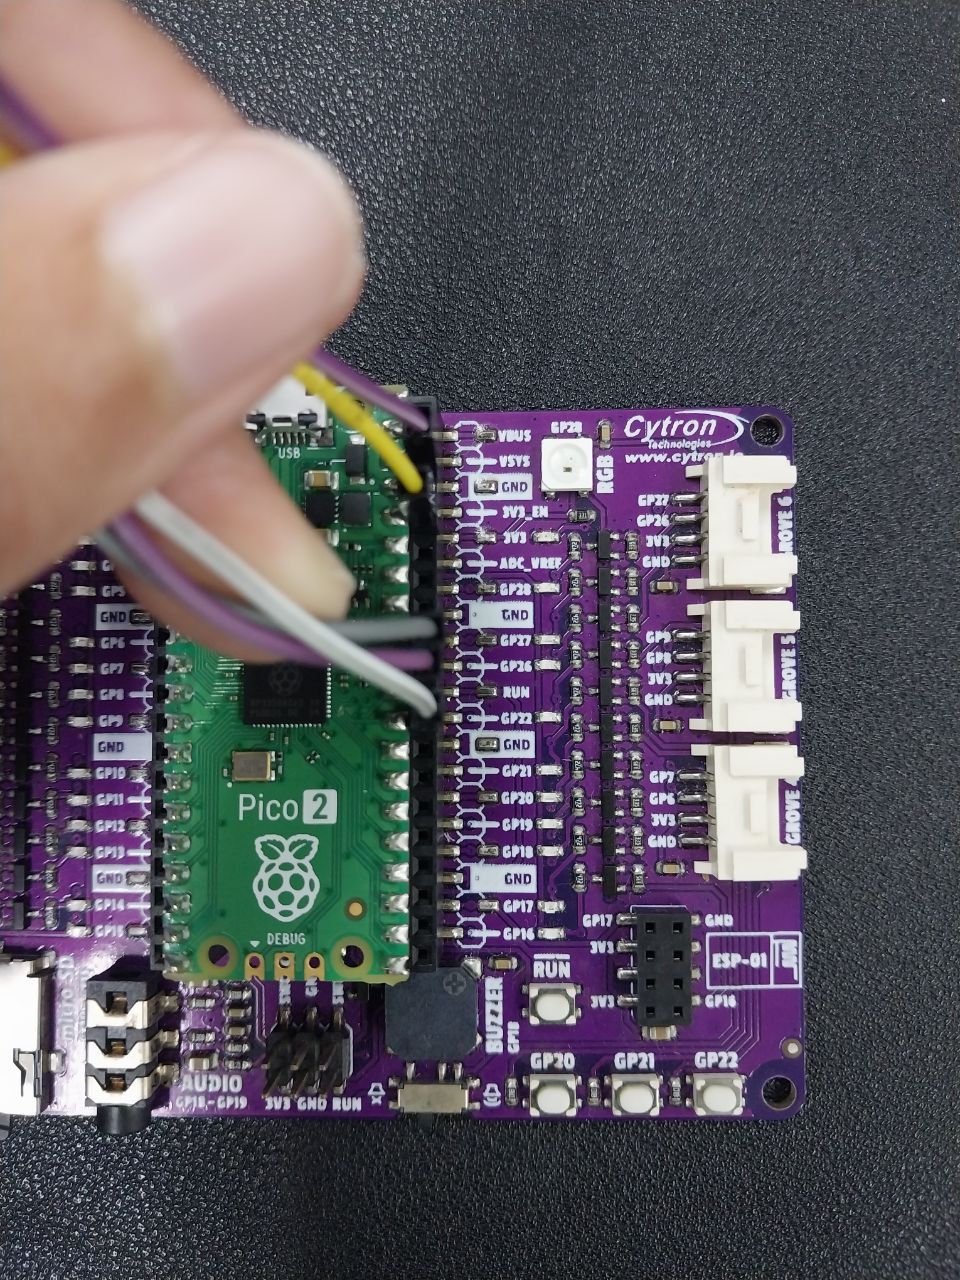
Buzzer:
Connect one pin to GP18
Connect the other pin to GND
Step 4: Load the Code
Copy the provided code here into a new file named code.py on the CircuitPython drive (this should appear when you connect your Pico to your computer via USB).
Get the code here
Step 5: Understand the Code Structure
Initialization:
Set up the I2C connection for the OLED display.
Initialize the joystick and buzzer.
Define game variables like paddle size, ball speed, block dimensions, etc.
Main Functions:
create_blocks(): Generates the blocks to be broken.draw_game(elapsed_time): Handles drawing the paddle, ball, blocks, score, and time on the display.show_start_screen(): Displays the start screen with instructions.show_game_over_screen(): Displays the game over screen with the final score.play_buzzer(): Plays a tone on the buzzer when the game ends.
Game Loop:
The main loop waits for the start button press, tracks time, moves the paddle based on joystick input, updates the ball's position, checks for collisions, and redraws the game elements.
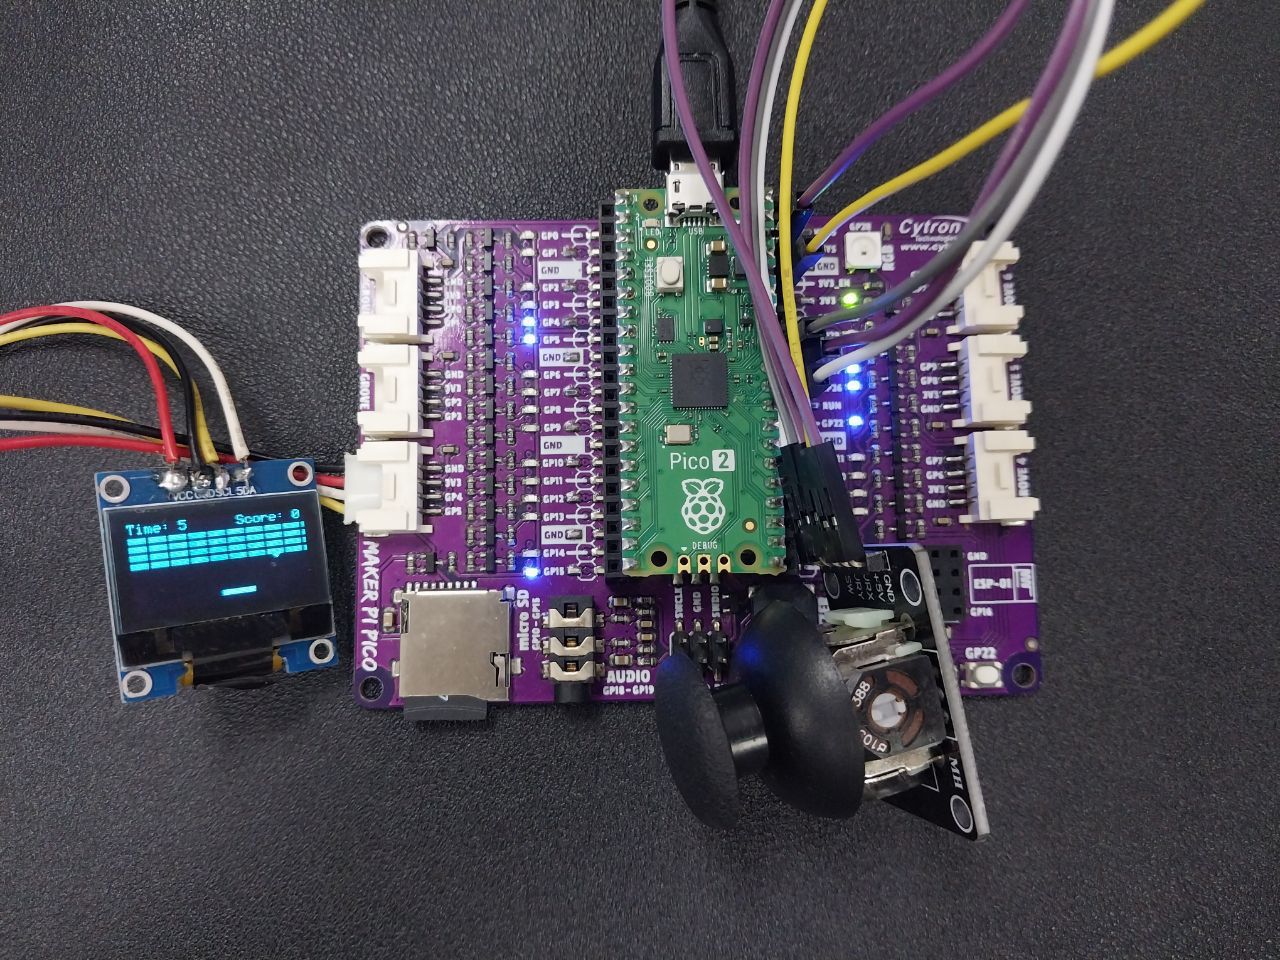
Step 6: Run and Test the Game
Once the code is loaded, the Pico should display "Press Start" on the OLED.
Press the joystick button to start the game.
Use the joystick to move the paddle left and right.
The game will increase in difficulty as the ball speed gradually increases.
When the ball hits the bottom of the screen, the game ends, and the final score is displayed.
Video Output
This step-by-step process will guide you in creating a breakout game using CircuitPython and an SSD1306 OLED display. Enjoy building and customizing your game!