 International
 Singapore
 Malaysia
 Thailand
 Vietnam
Your shopping cart is empty!

How to get Auth Token from Blynk
- Hao Zhen Goh
- 01 Sep 2021
- Tutorial
- Beginner
- 14313
This guide will show you how to start up a Blynk Project and to get the Auth Token of your Blynk Project.
Step 1: Creating New Templates and Adding New Device
Through Web Browser
1. In your web browser, go to https://blynk.io/.
2. Register an account for free by using your email if you are new to Blynk IoT.
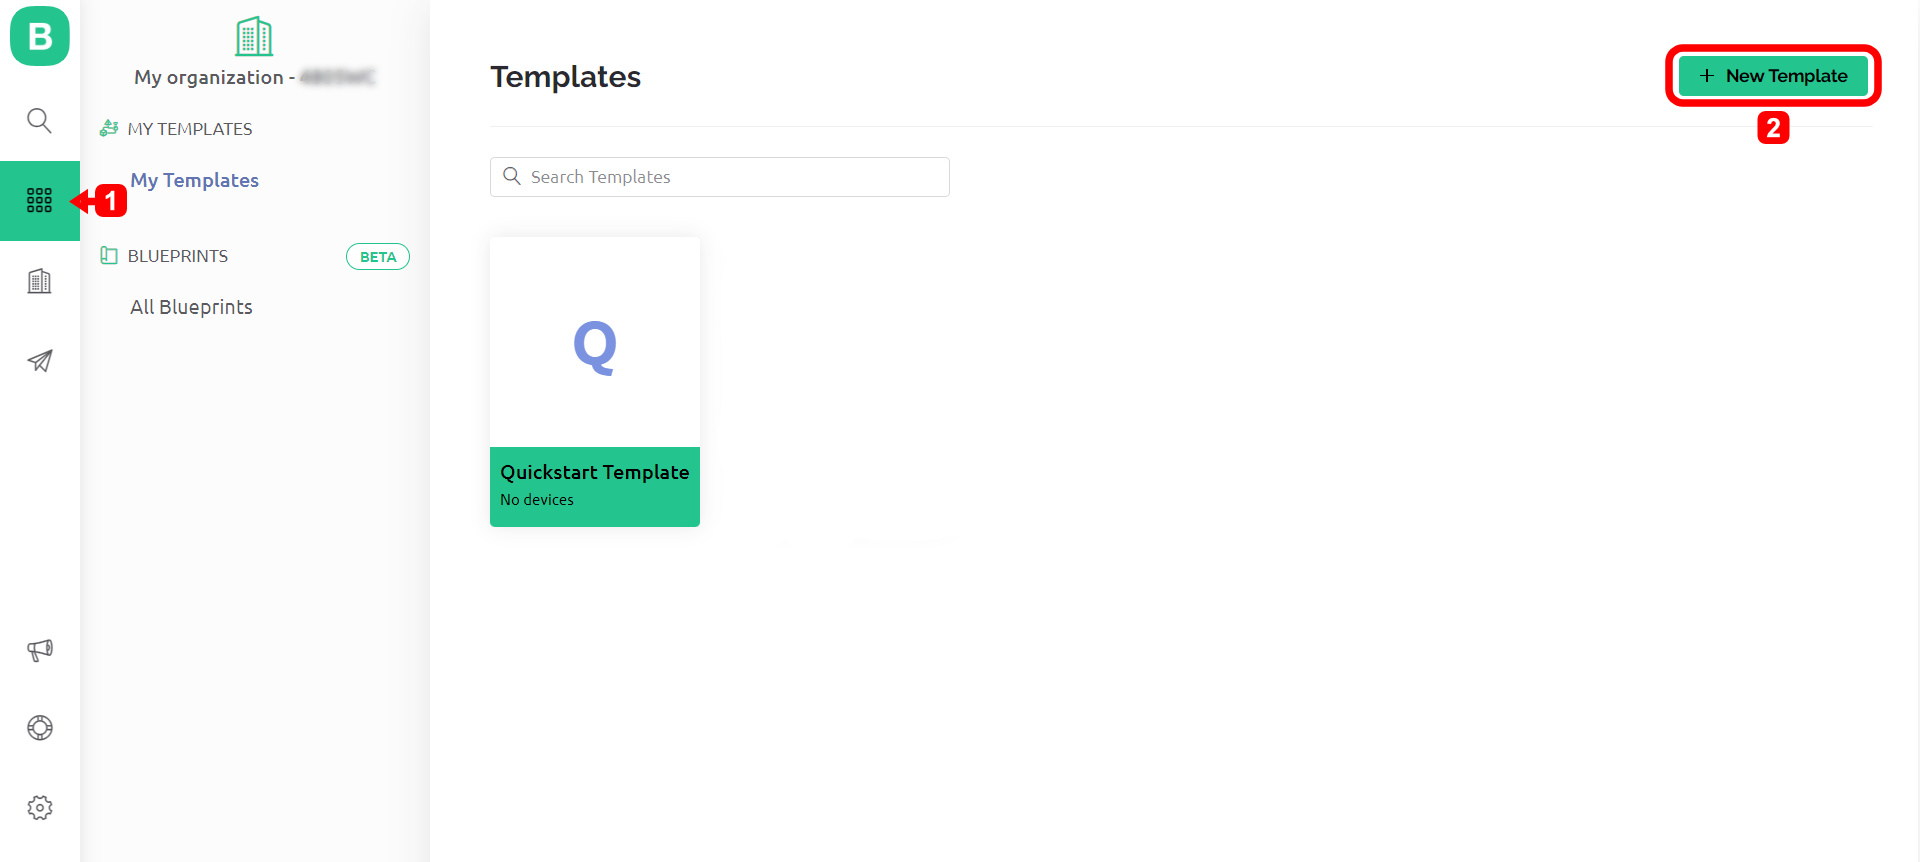
3. Create a new template for your project under "Templates".
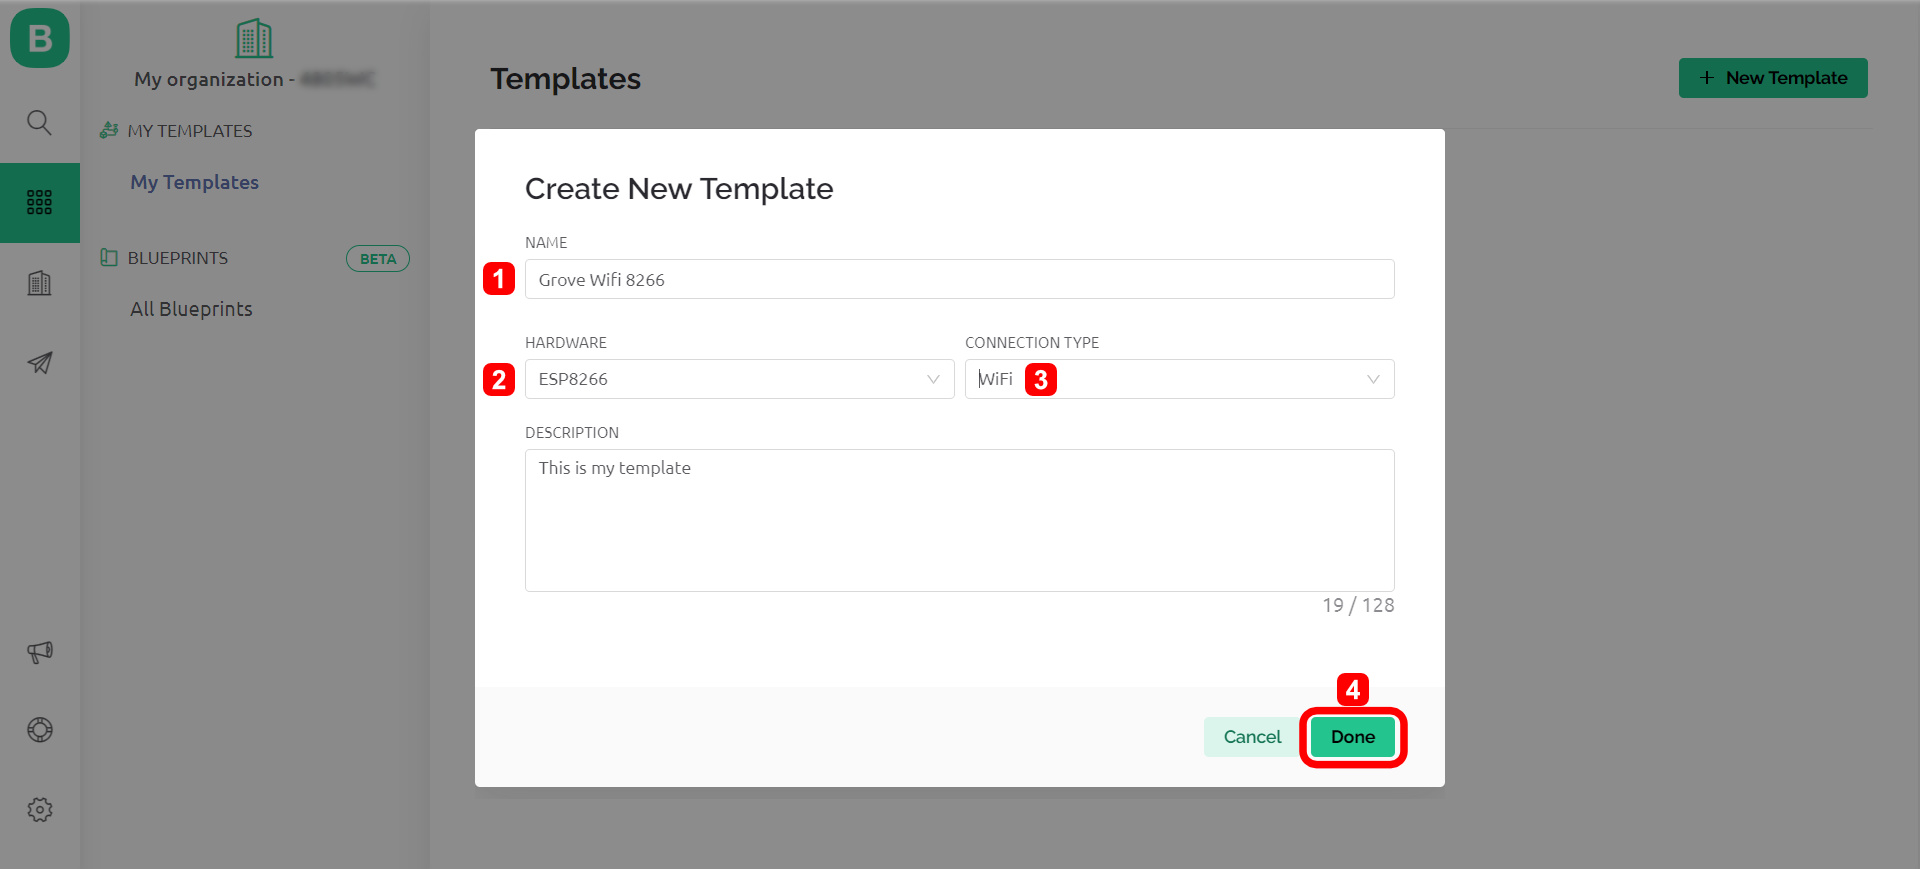
4. Give your new template a special name (for example: Grove WiFi 8266) and set the hardware to the module that you are using (for example: ESP8266).
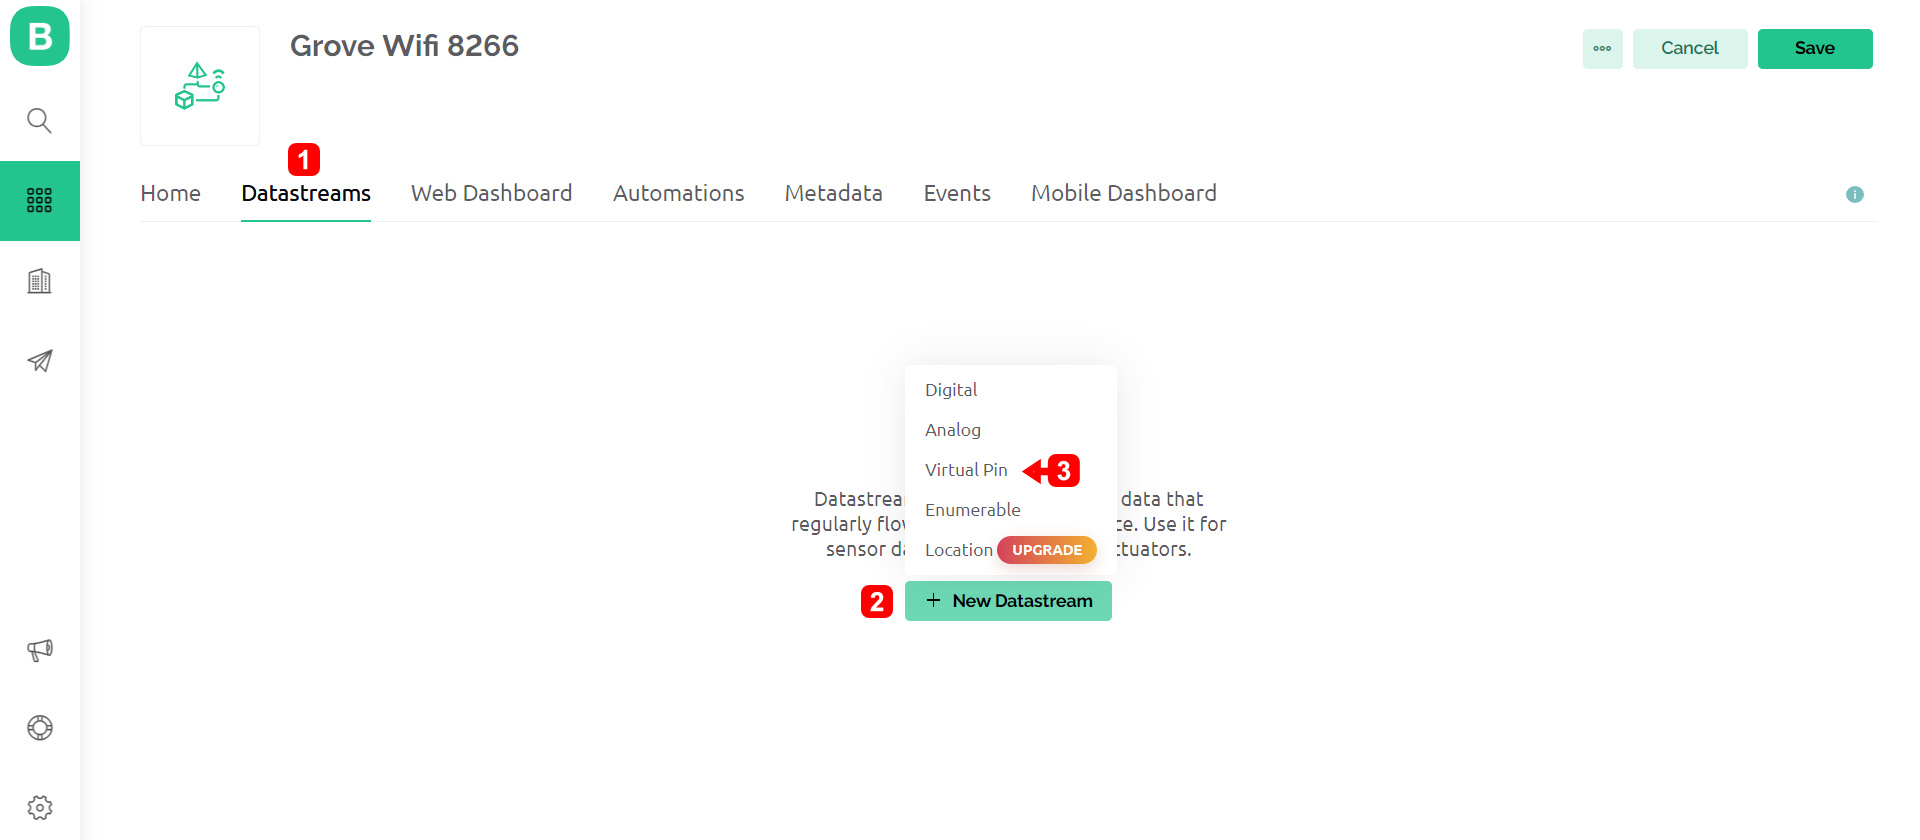
5. Now you can set the datastreams for each virtual pins and set up those widgets that you need inside the template.
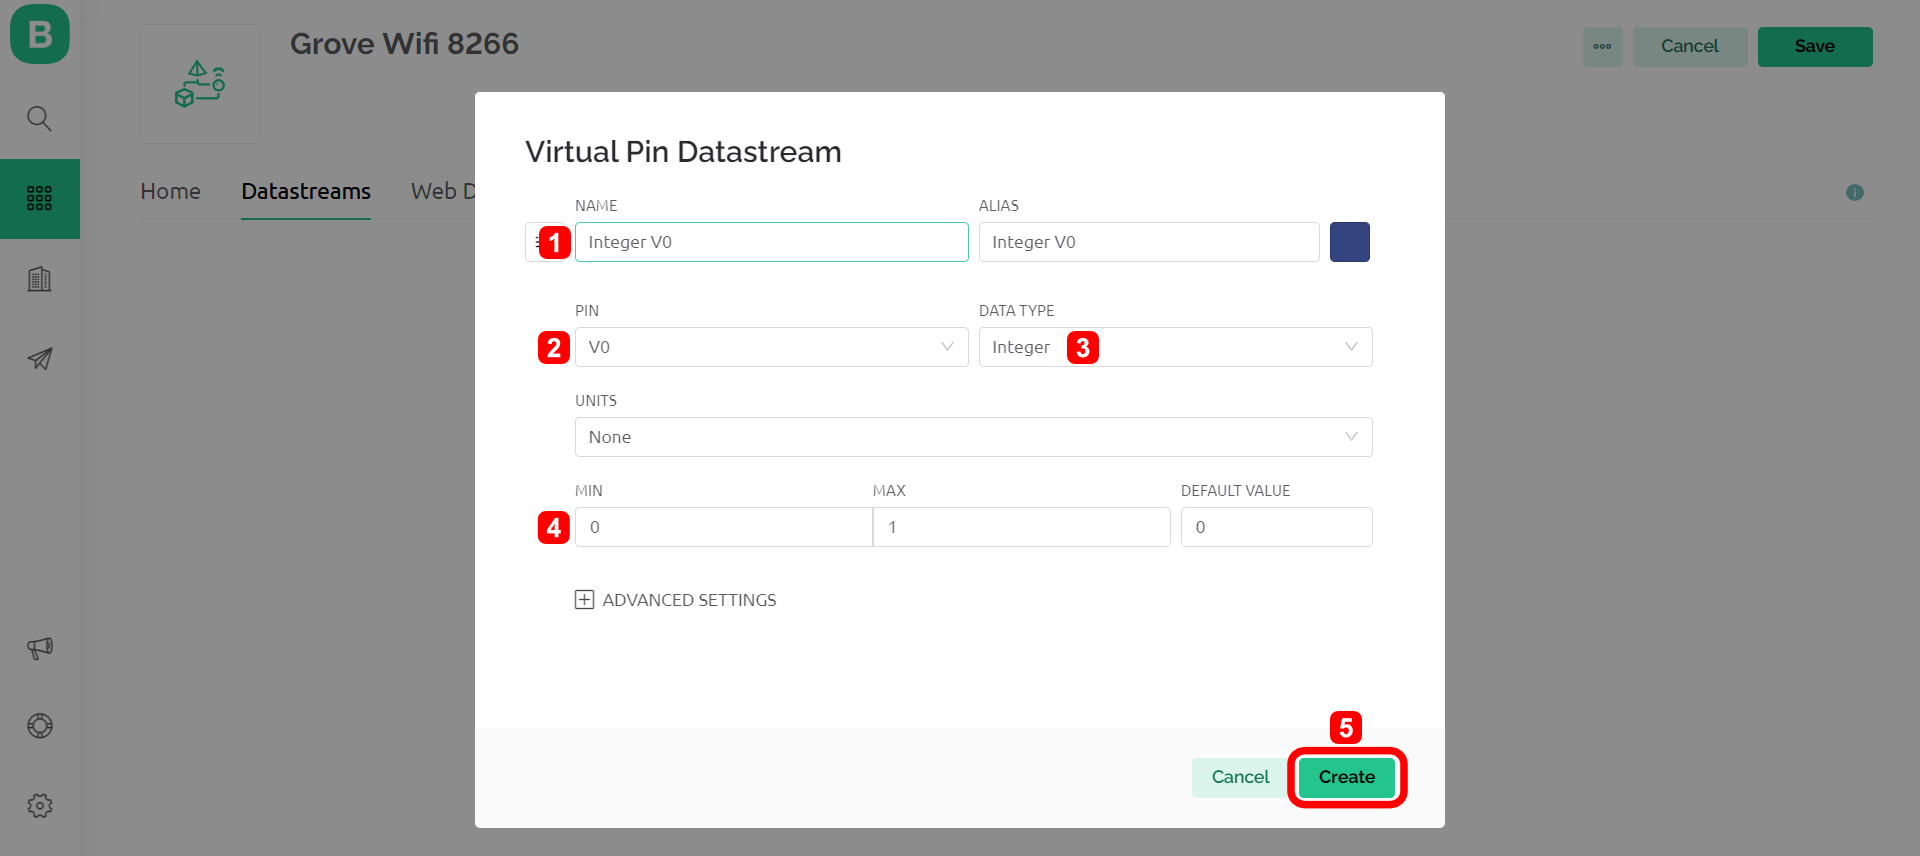
6. Set your virtual pin name, virtual pin number, data type, and range data value you will sent or receive.
7. On the "Web Dashboard", customize you interface by drag and drop the widget to the dashboard.
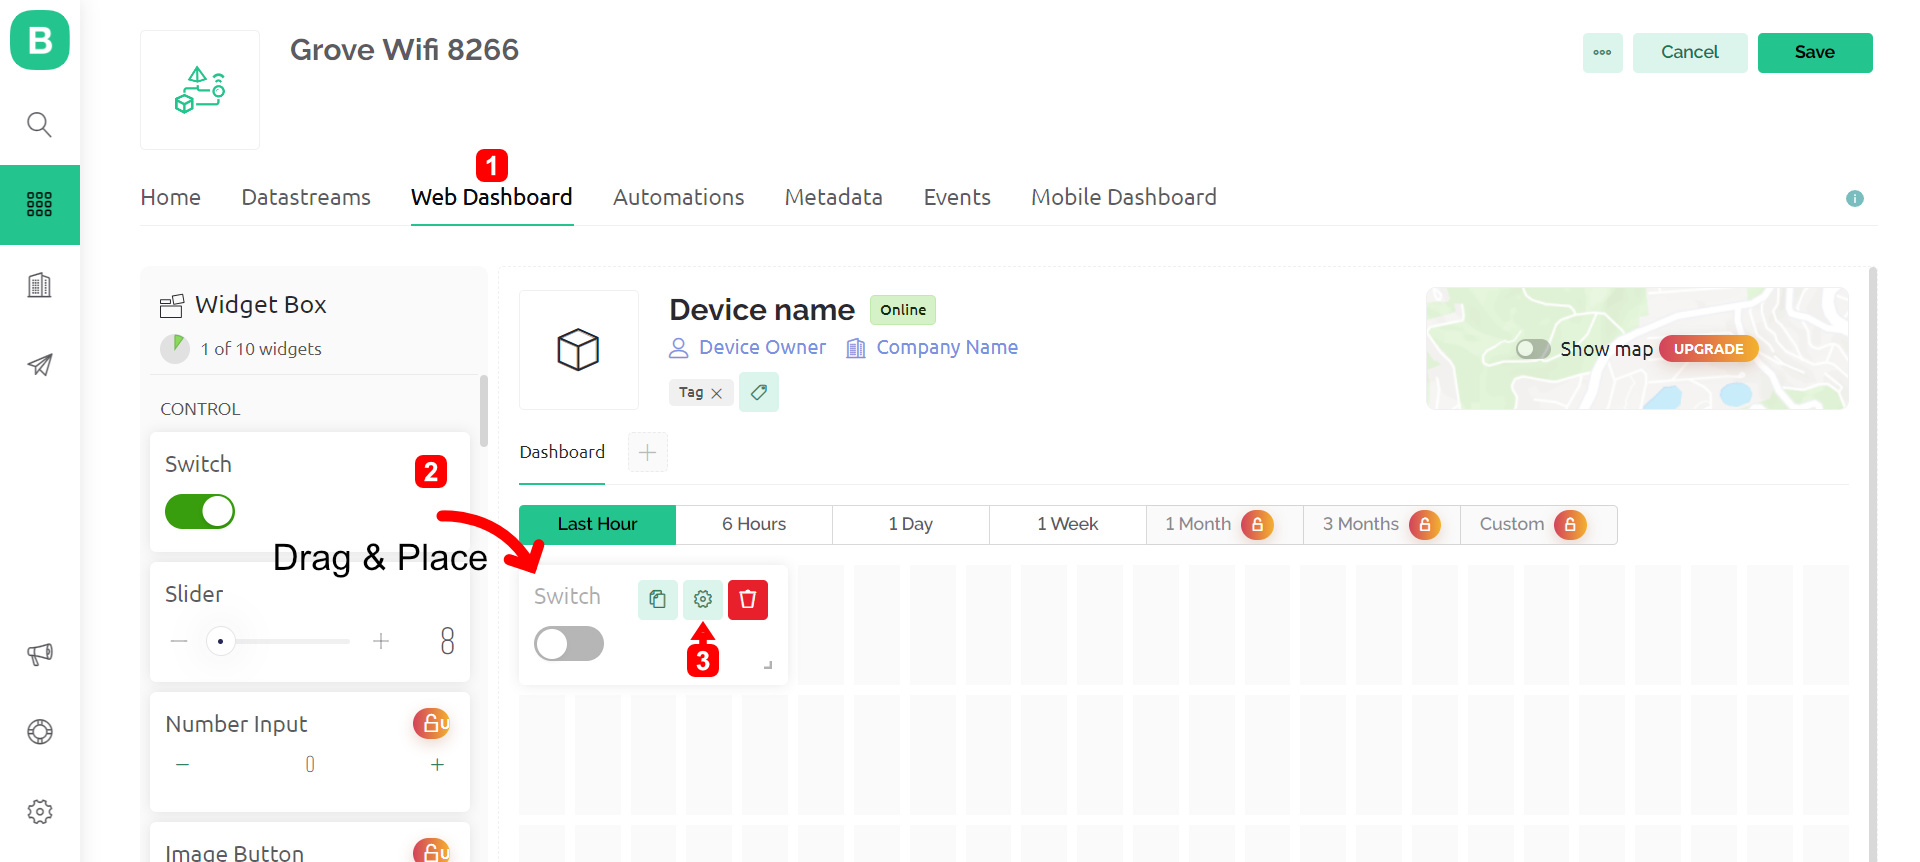
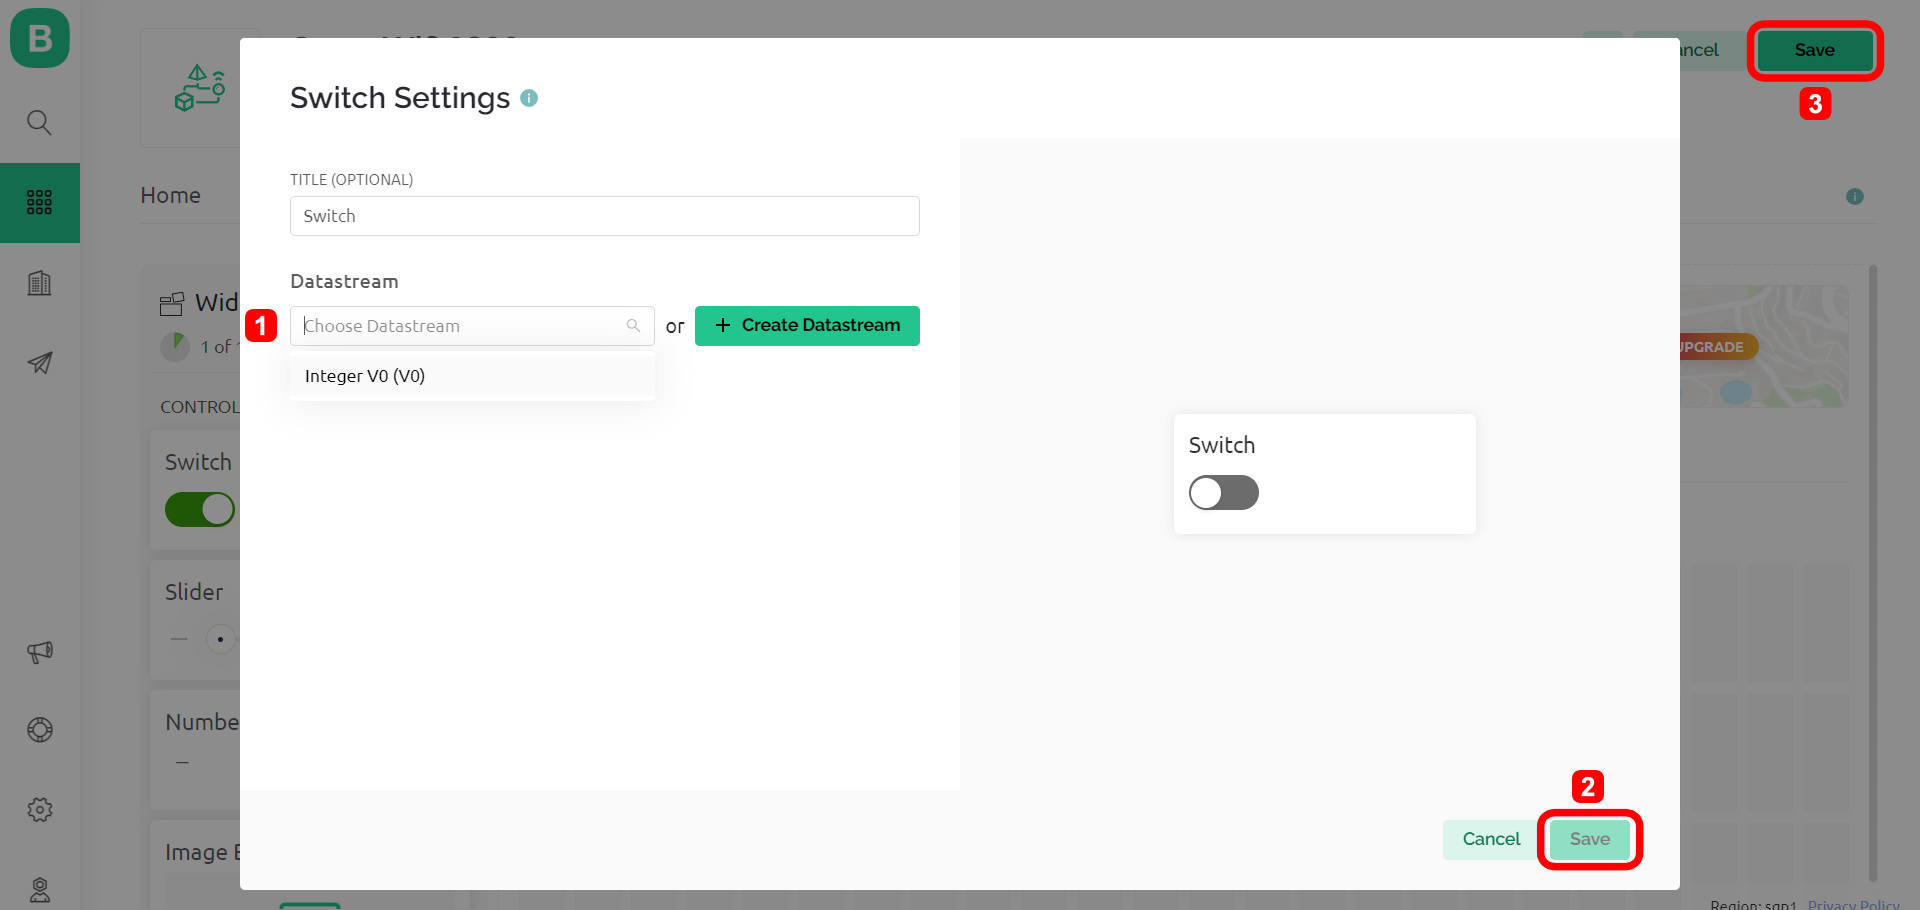
8. You can assign the virtual pin created earlier or create new datastream. Don't forget to save your changes.
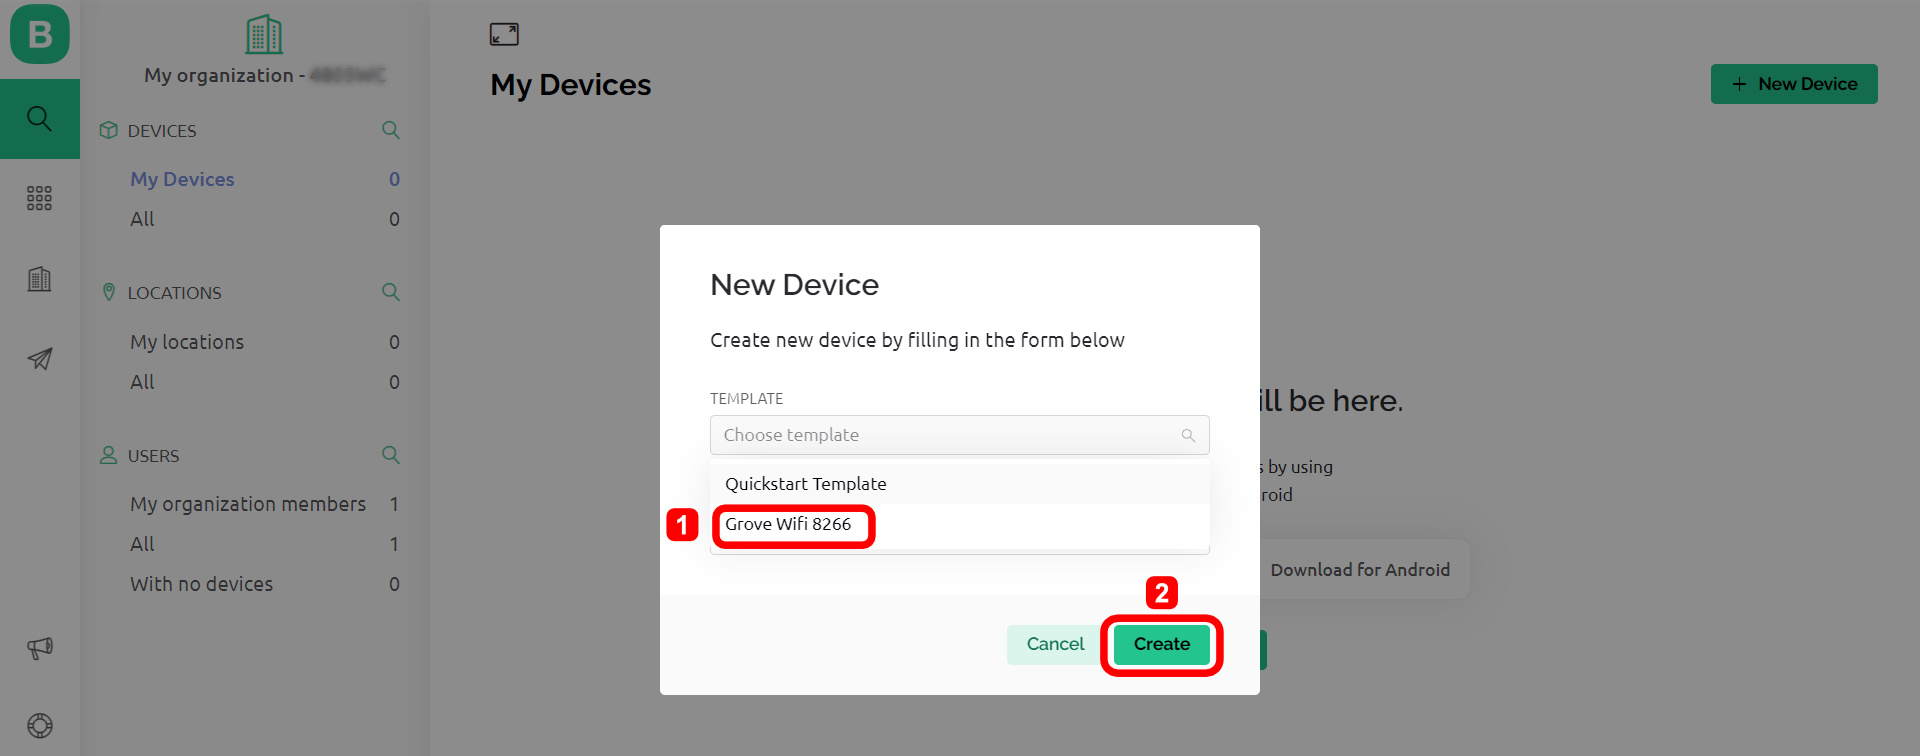
9. Go to "Search" icon and select the "+ New Device" icon.

10. Select "From template".

11. Select the template that you have created just now and give it a special name.
Now you have done setting up a Blynk IoT Project, you may skip to Step 2 to get the Auth Token.
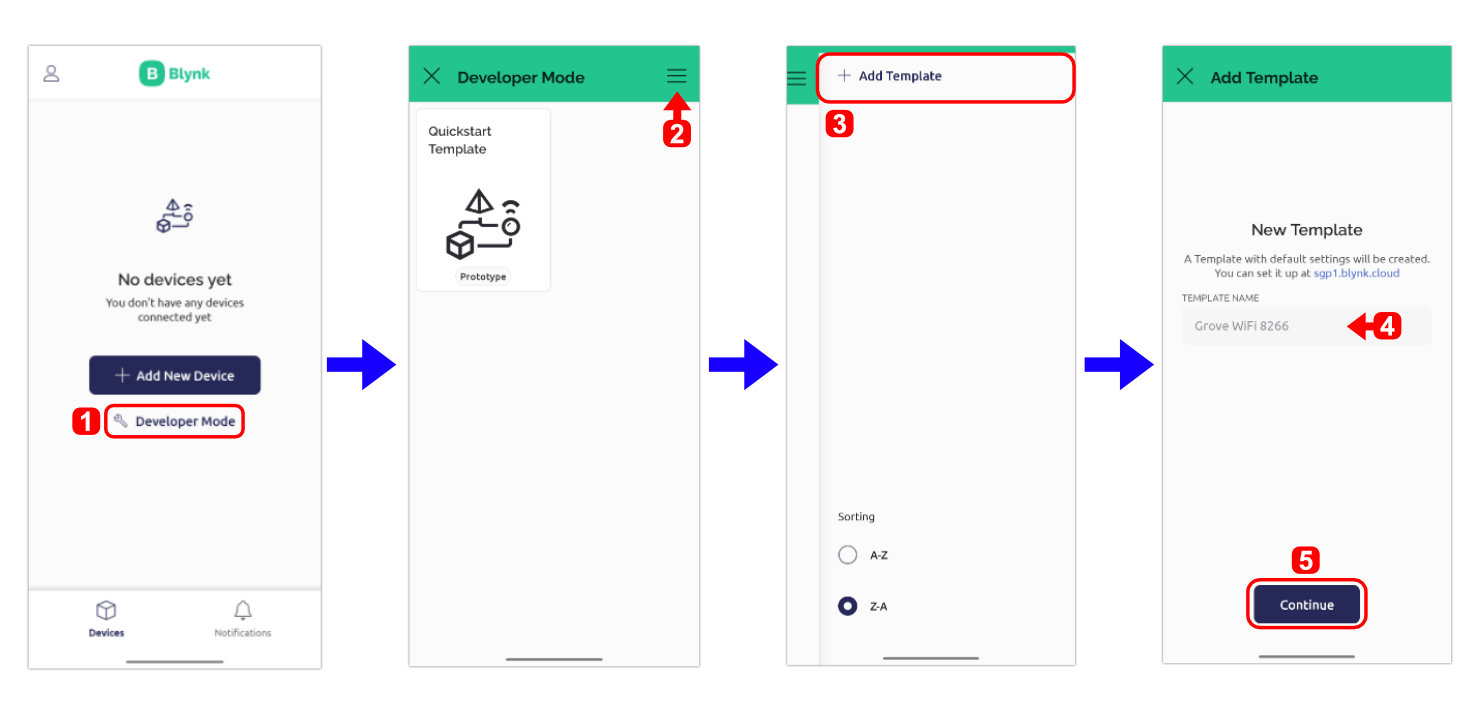
Through Mobile App
You may set up the entire Blynk IoT project through Blynk IoT Mobile App.
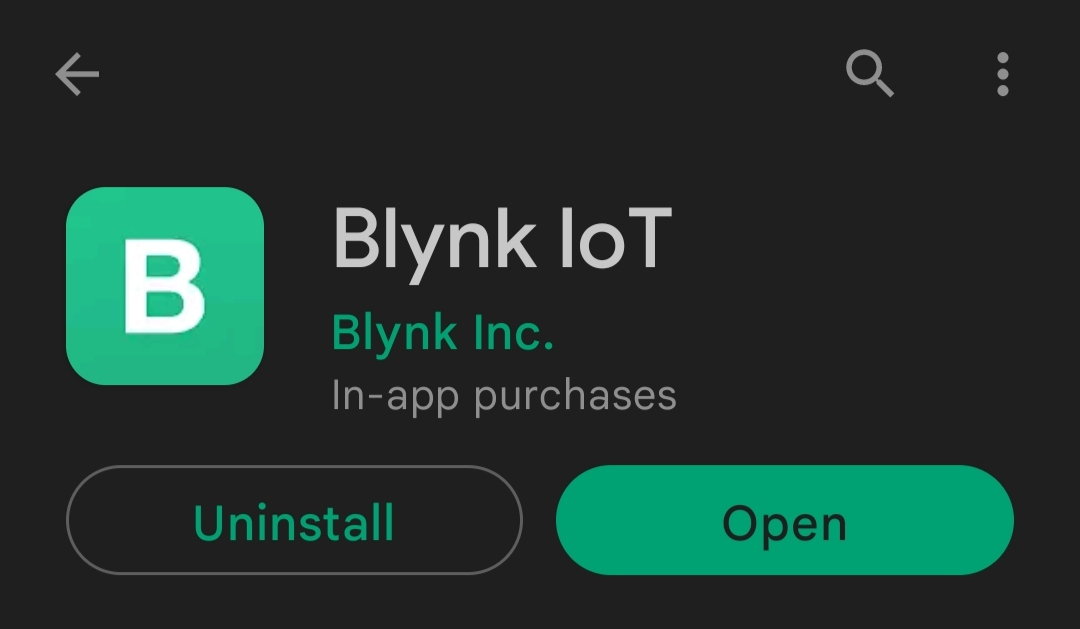
1. Search and install Blynk IoT from your App Store or Play Store.
2. Create a new template as follows:
3. After creating a new template, you can proceed to create new datastreams for your virtuals pins.
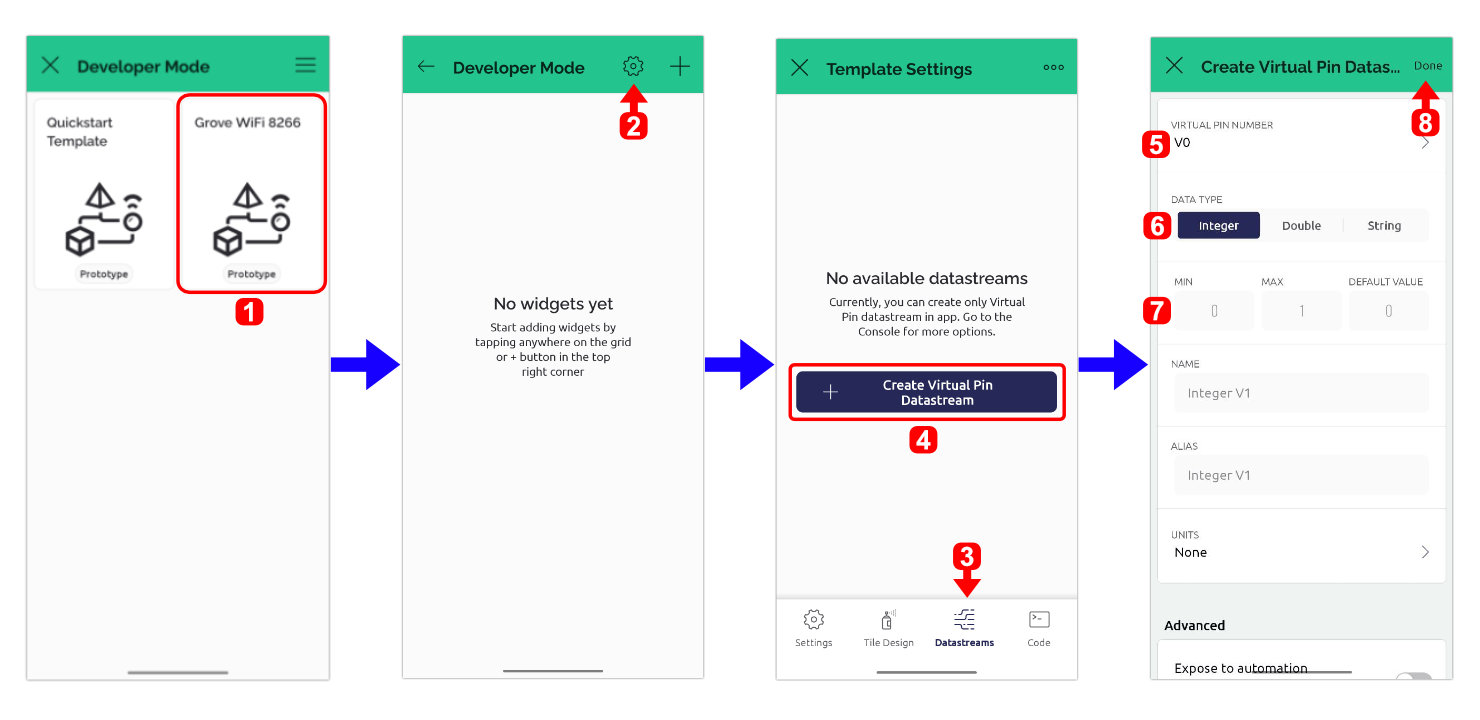
4. Setting up the widgets that you need and assign pin for datastream.

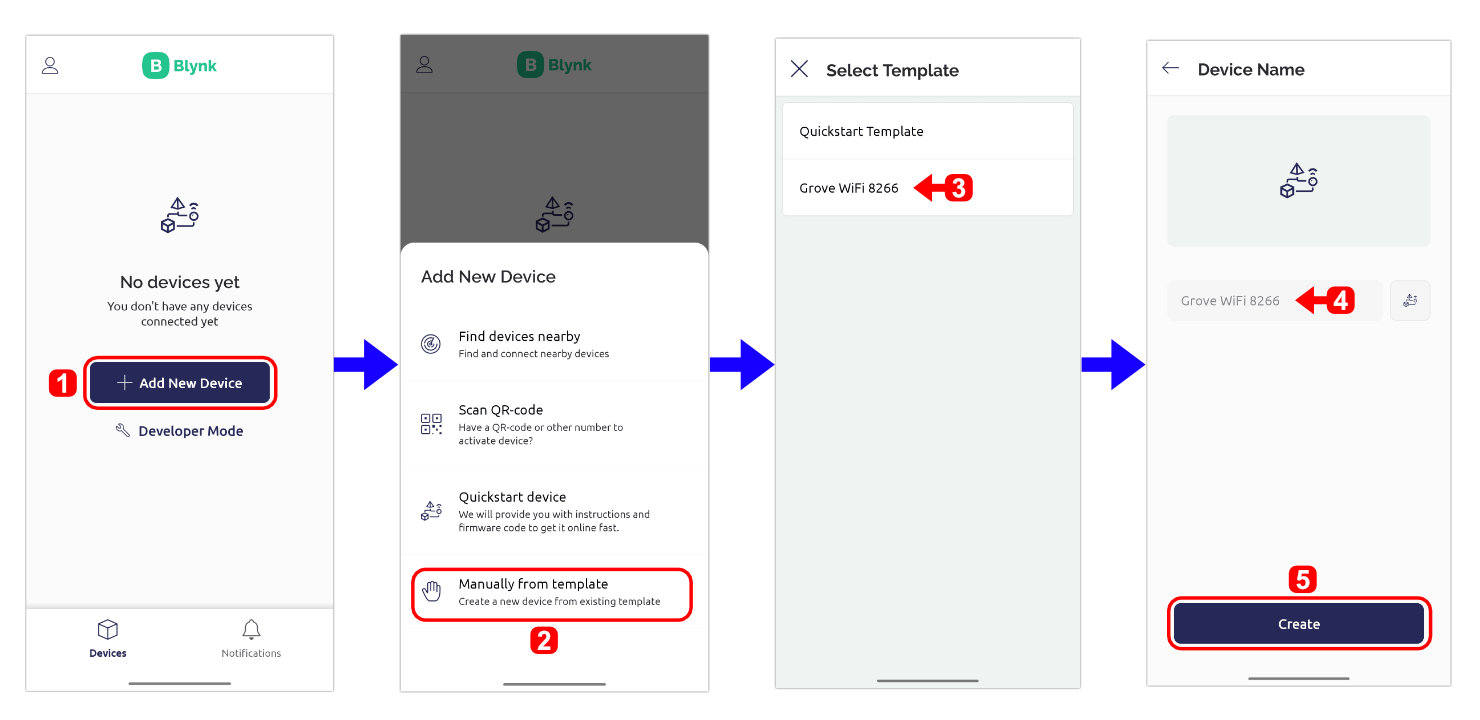
5. Add new device by using the template that you have created.
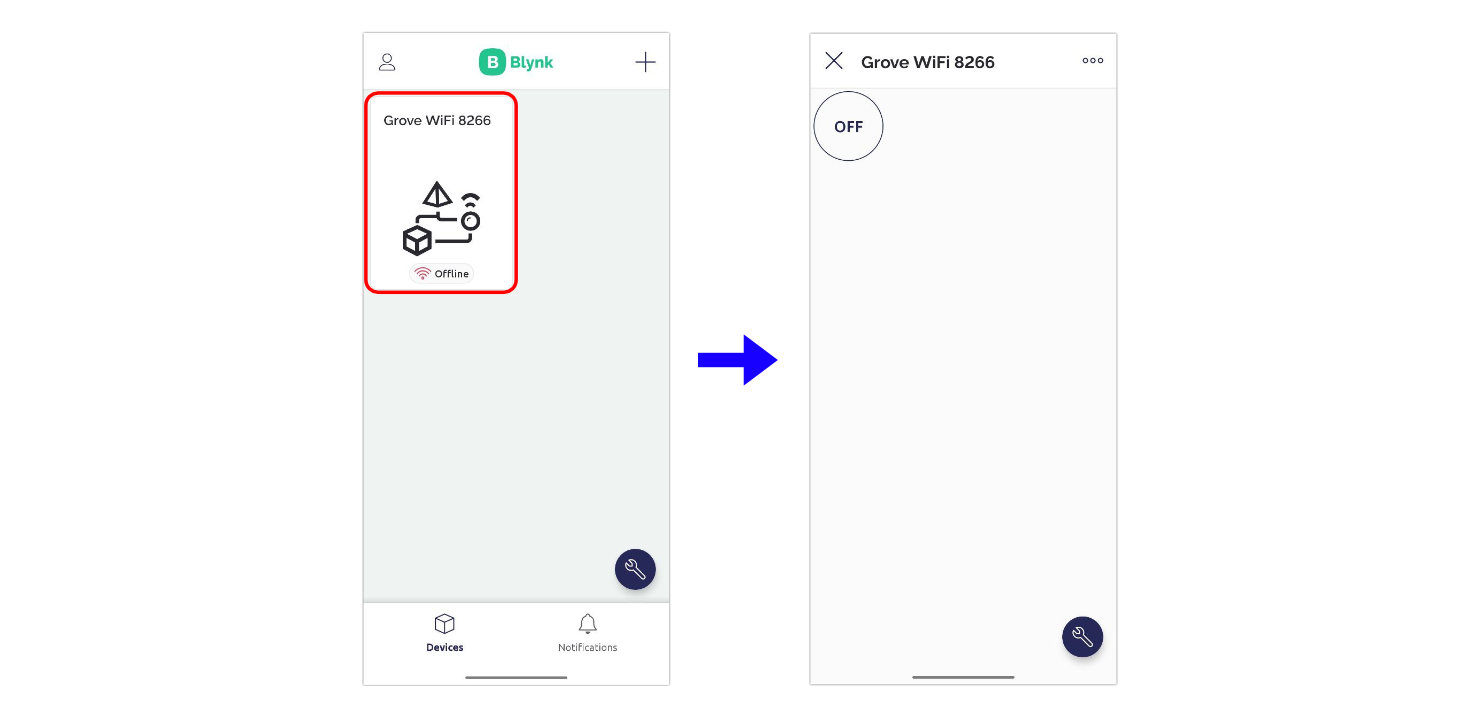
6. You will see new device on your Blynk app initial page, open it and you can see your mobile dashboard.
Now you have done setting up a Blynk IoT Project, you may get the Auth Token in Step 2.
Step 2: Getting the Auth Token.
You can only get your Auth Through Web Browser Version, so...
1. In your web browser, go to https://blynk.io/ and login into your account.
2. Go to "Search" and select your "Device".
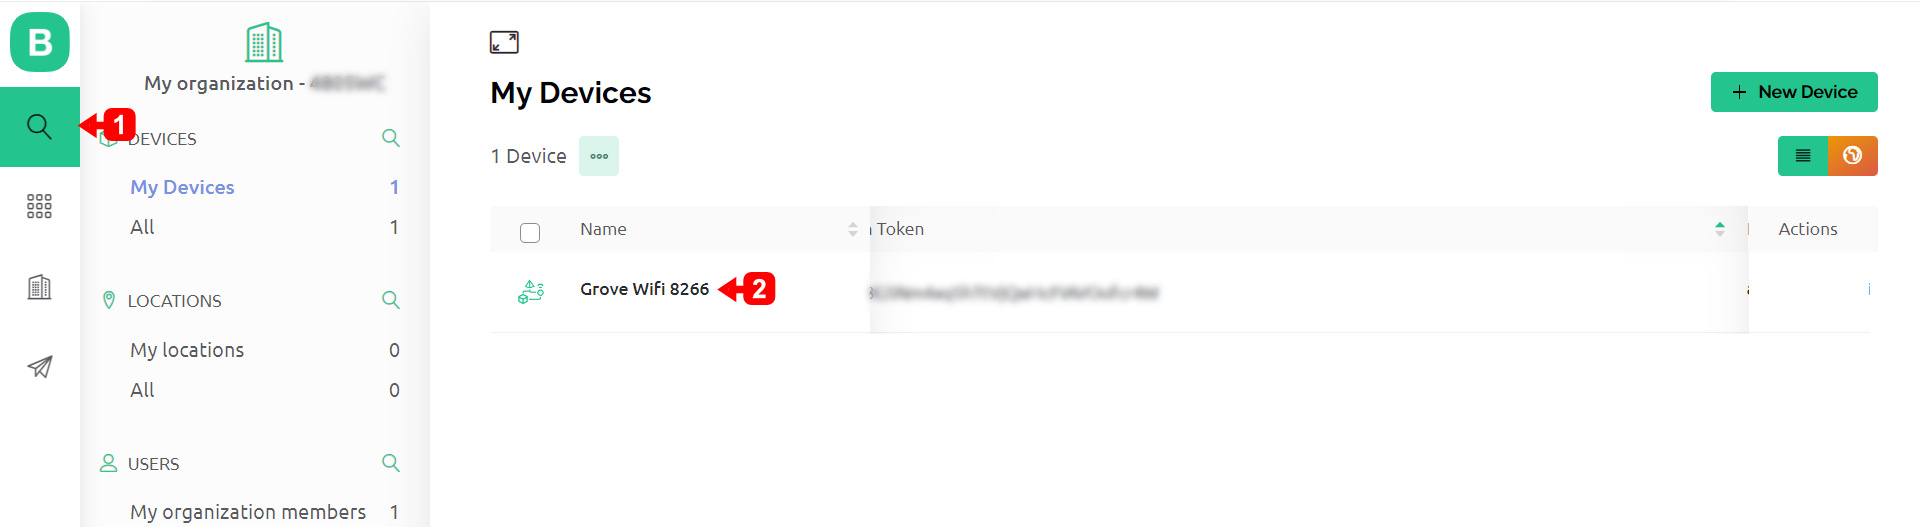
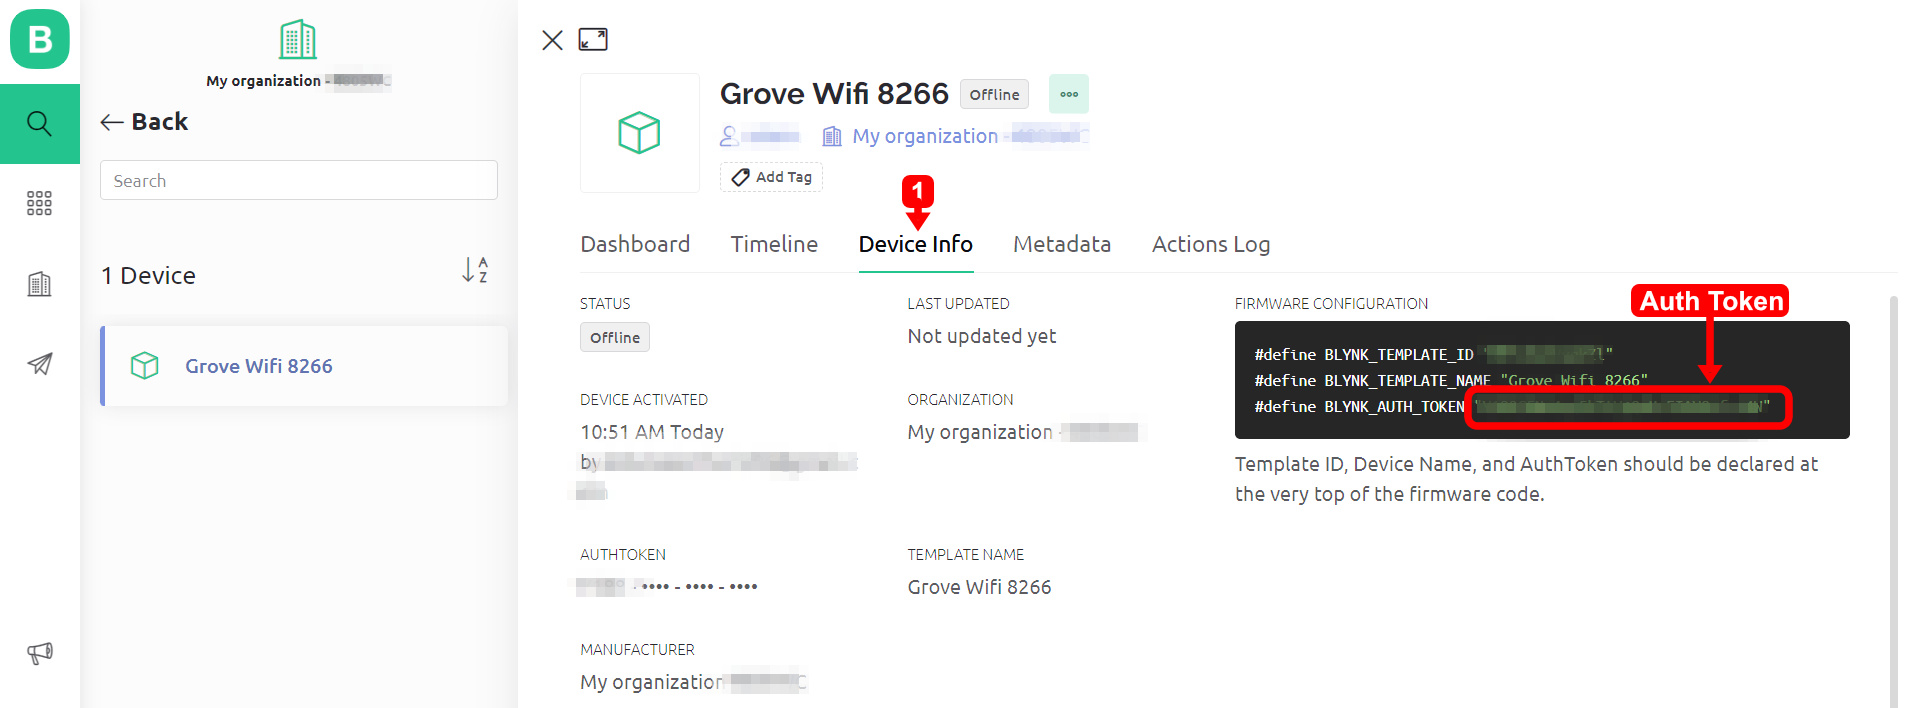
3. You can see your Auth Token and other information about your project under "Device Info":
Hardware Components

x 1 unit(s)
Related Posts

Remote Control ZOOM:BIT using Grove 8266 WiFi and Blynk
Do you want to remotely control your ZOOM:BIT just like a toy car? This tutorial shows the step-by-step guide on how to build a remote control ZOOM:BIT using Grove 8266 WiFi module and Blynk.....
Sound Level Detector using Maker UNO paired with ESP8266 Grove WiFi on Blynk
Having a noisy surrounding at home? Make yourself a sound level detector and notify the noise maker through Blynk App using Maker UNO paired with an ESP8266 Grove WiFi.....
Get started with Grove WiFi 8266 on the micro:bit
This post shows you the tutorial on how to get started with your Grove WiFi 8266 module on the BBC micro:bit board. ....