Your shopping cart is empty!
Getting Started with Maker Drive and micro:bit
- Idris Zainal Abidin
- 26 Feb 2019
- 813
INTRODUCTION
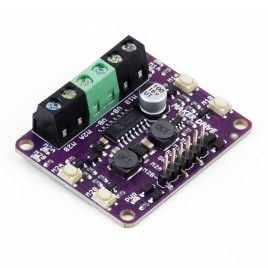
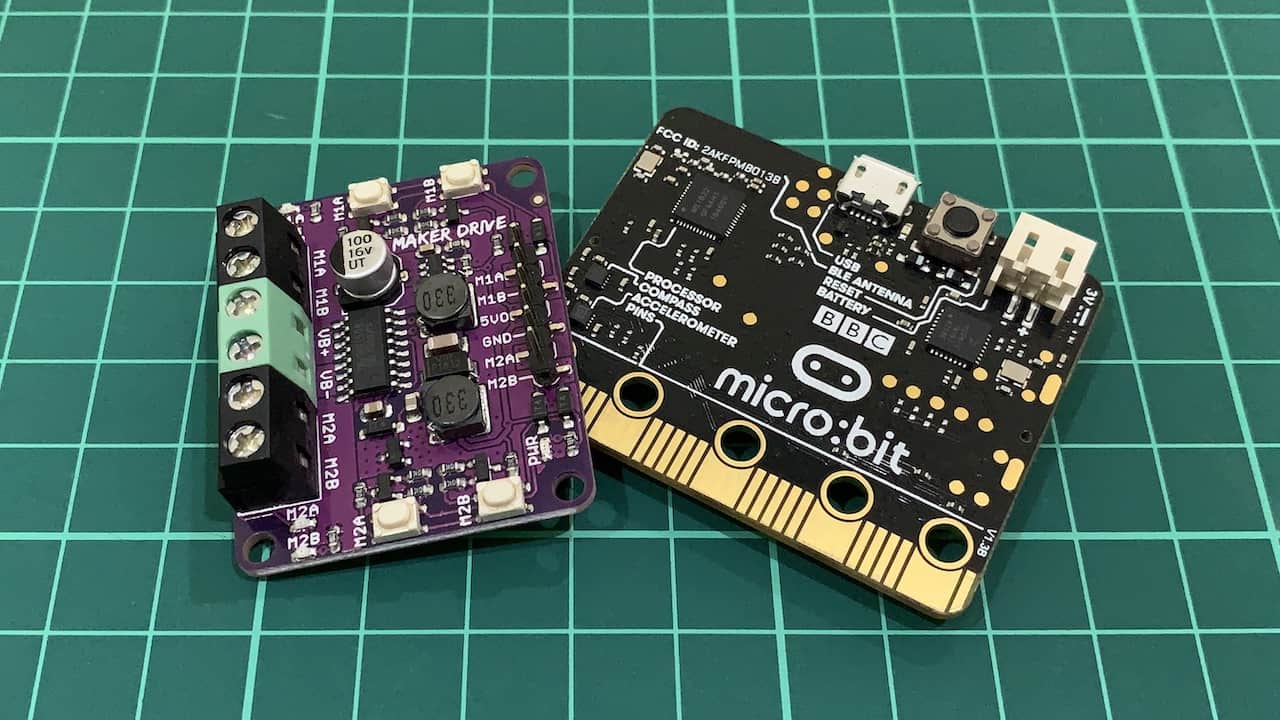
Maker Drive is a dual channel motor driver which is designed for beginner. It can be interfaced with 1.8V, 3.3V & 5V logic controller like Arduino boards, micro:bit, Raspberry Pi and etc. This tutorial will share with you on how to get start with Maker Drive using micro:bit.
VIDEO
This video will show you on how to get start with Maker Drive using micro:bit.
Untuk versi bahasa Melayu, sila rujuk video dibawah.
HARDWARE PREPARATION
Item used in the video
- Maker Drive
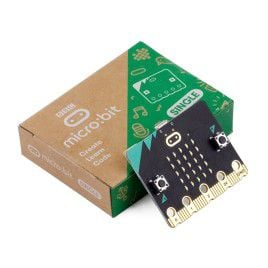
- micro:bit Board
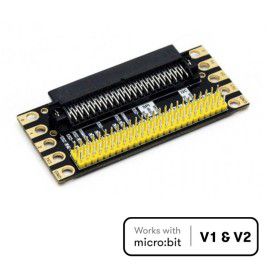
- Edge Breakout for micro:bit, I/O Expansion
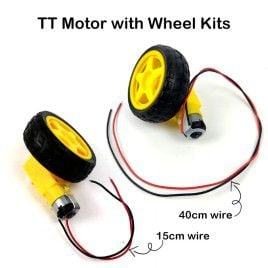
- TT Motor + Wheel Kit
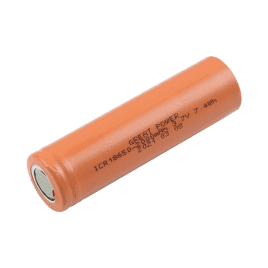
- 3.7V 2000mAh Li-Ion Battery
- 1x18650 Battery Holder
- Piezo Transducer
- 40 Ways Female to Female Jumper Wire
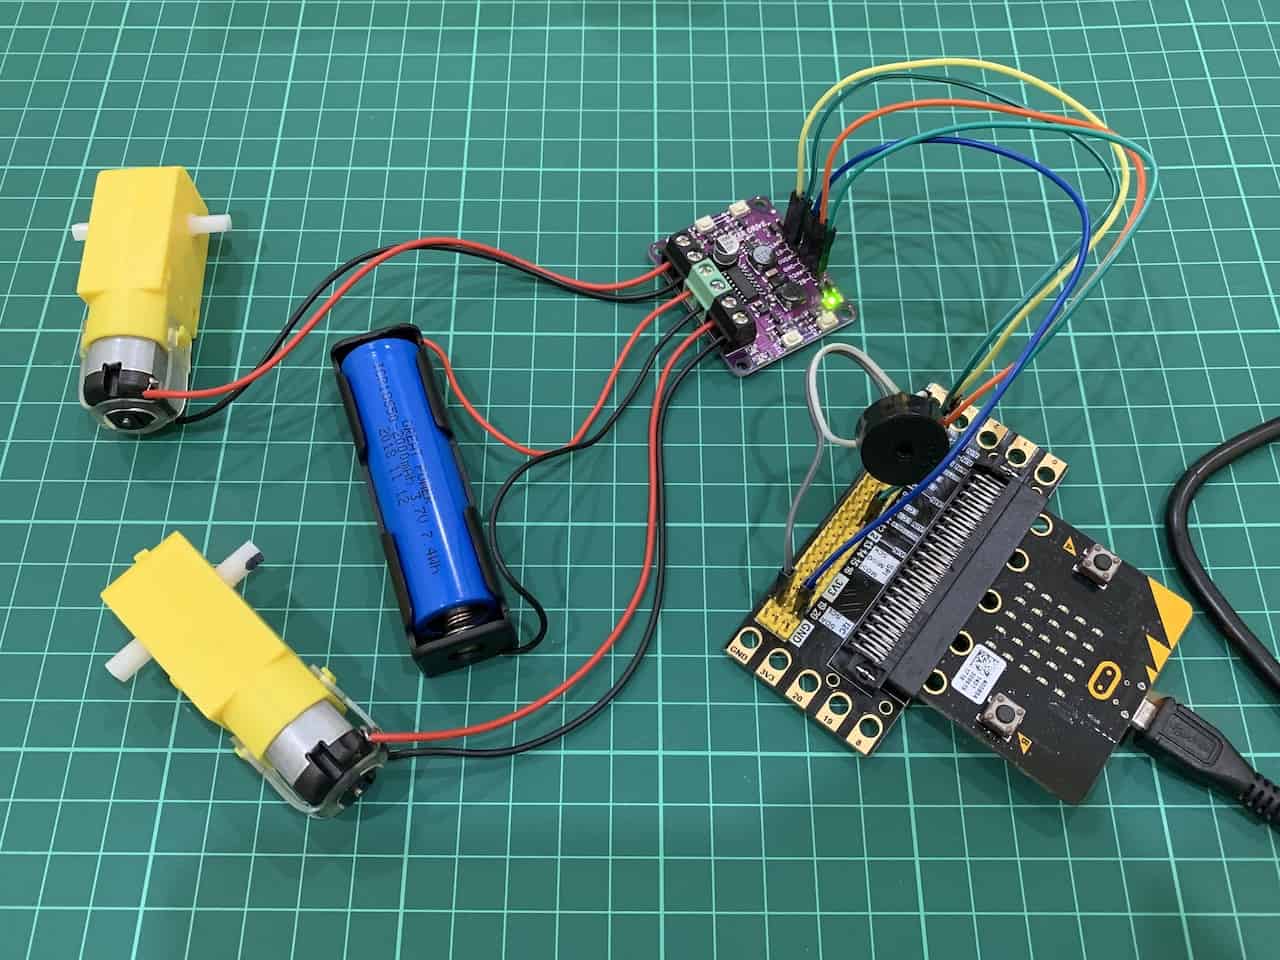
Wiring connection table
| micro:bit | Maker Drive | DC Motor | Battery |
| Pin 1 | Pin M2A | ||
| Pin 2 | Pin M2B | ||
| Pin 3 | Pin M1A | ||
| Pin 4 | Pin M1B | ||
| GND | GND | ||
| Terminal M1A | DC Motor 1 | ||
| Terminal M1B | DC Motor 1 | ||
| Terminal VB+ | Positive | ||
| Terimnal VB- | Negative | ||
| Terminal M2A | DC Motor 2 | ||
| Terminal M2B | DC Motor 2 |
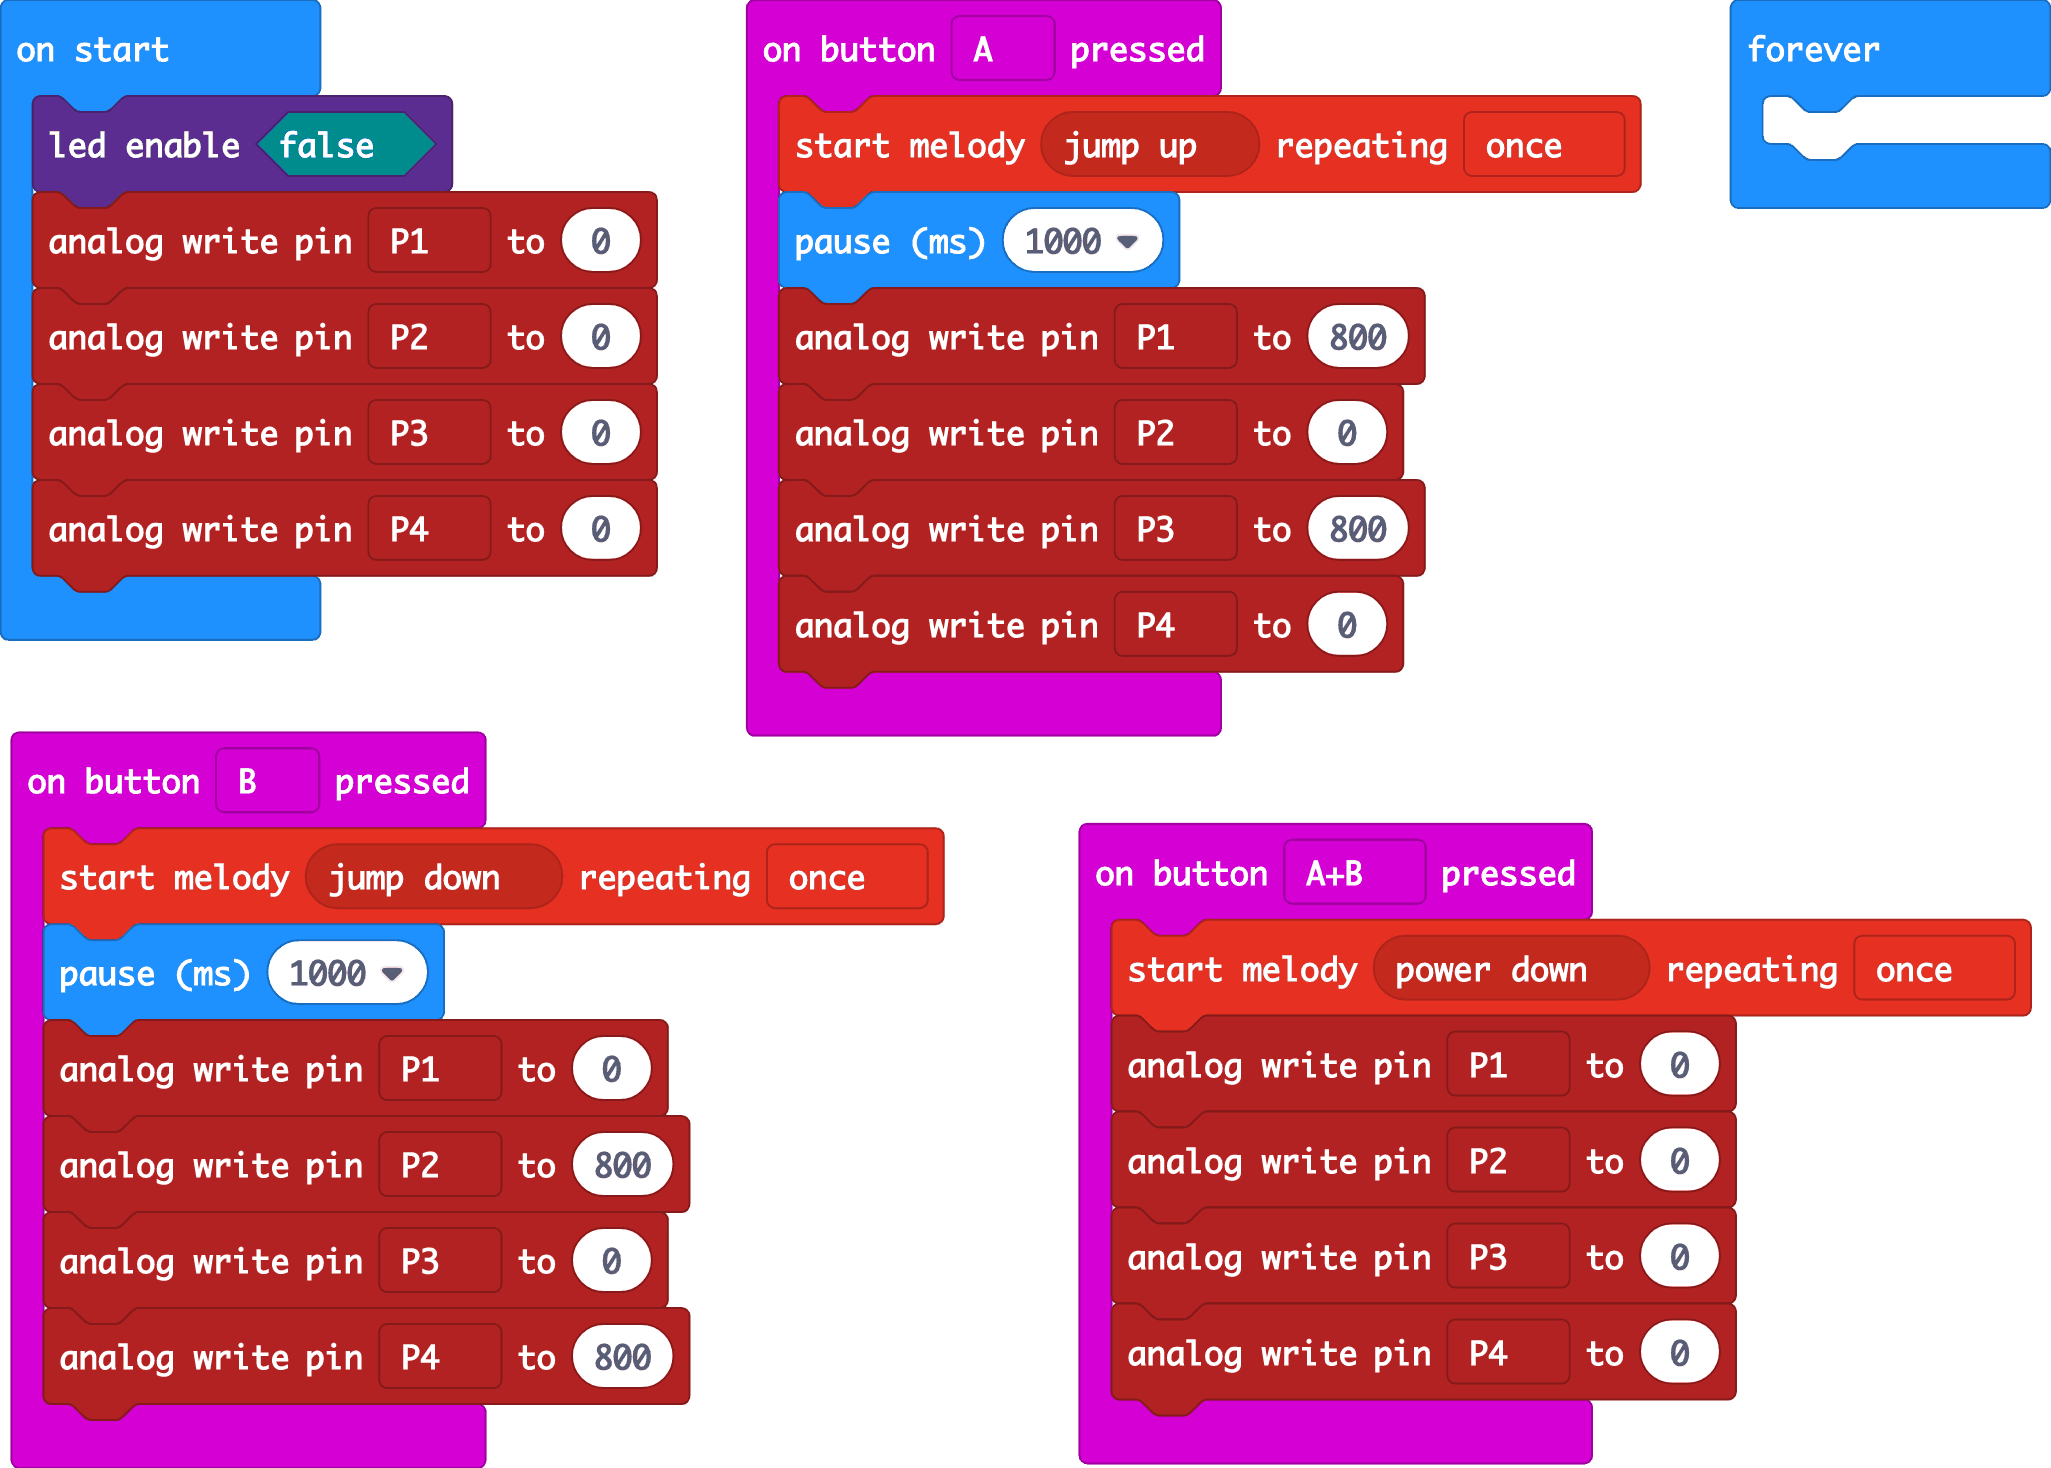
Sample Program
This is sample code used in the video. I'm using Microsoft MakeCode.
Thank You
References:
Thanks for reading this tutorial. If you have any technical inquiry, please post at Cytron Technical Forum.
Related Products
3.7V 2000mAh Li-Ion Battery
RM9.80
x 1 unit(s)
Edge Breakout for micro:bit I/O Expansion
Discontinued
x 1 unit(s)
x 1 unit(s)
micro:bit V2 mainboard
RM85.00
x 1 unit(s)
TT Motor with Wheel Kits
RM7.00
x 1 unit(s)
 International
 Singapore
 Malaysia
 Thailand
 Vietnam
